


When customizing hats, choosing the right hat logo size and the perfect placement is essential. Whether you're creating a unique brand identity or designing a team logo, understanding how different sizes and placements affect the overall look will help you achieve the best visual impact and professionalism.
This guide will walk you through the principles of selecting logo sizes and common placement options—including helpful references like a simple hat logo size chart—making it easy to design custom hats that are both attractive and functional.
The Importance of Hat Logo Size and Placement for Branding
When you design a custom hat, the hat logo size and placement play a big role in how people see your brand.
T
If your logo is too small, people might not notice it. But if it's too big or in the wrong spot, it can look messy or overwhelming. The right size and placement make your brand look professional and memorable.
Here's why it matters for your brand:
- Helps customers easily recognize your logo
- Makes your hats look stylish and balanced
- Builds trust and boosts brand loyalty
So, when choosing your hat logo size and placement, think about how it will catch the eye and represent your brand well. Getting this right can make all the difference.
Custom Hat Logo Size and Placement for Different Types
Snapbacks
Snapbacks are those flat-brimmed hats with an adjustable snap closure at the back. They're super popular in streetwear and often seen at music festivals, skate parks, or sports events.
The flat front panel makes it perfect for bold logo placement. If you want your brand to be noticed right away, this is your go-to spot.
Placement | Recommended Size | Notes |
Front center | 2.5 to 3 inches wide, ~1.5 in high | Flat front panel, great for bold logos |
Side or back embroidery | Around 1 inch wide | Good for small icons or text |
Want to make it pop? Use high-contrast colors or 3D embroidery for extra impact. The structured shape also handles detailed designs really well.
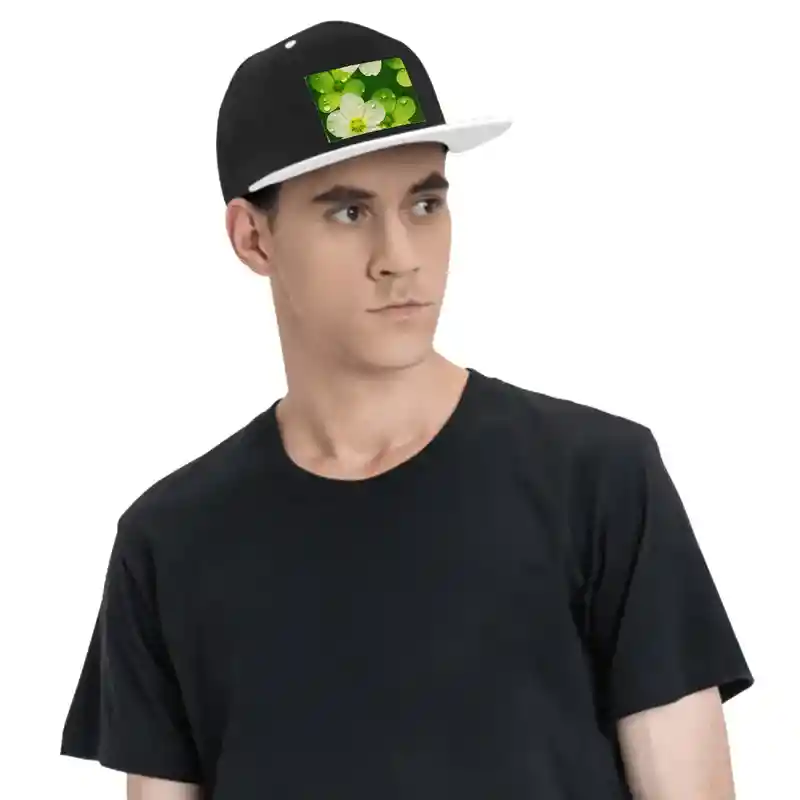
Custom Flat Bill Hats Hip Hop Style (Front Pattern) - Print-On-Demand - PrintKK
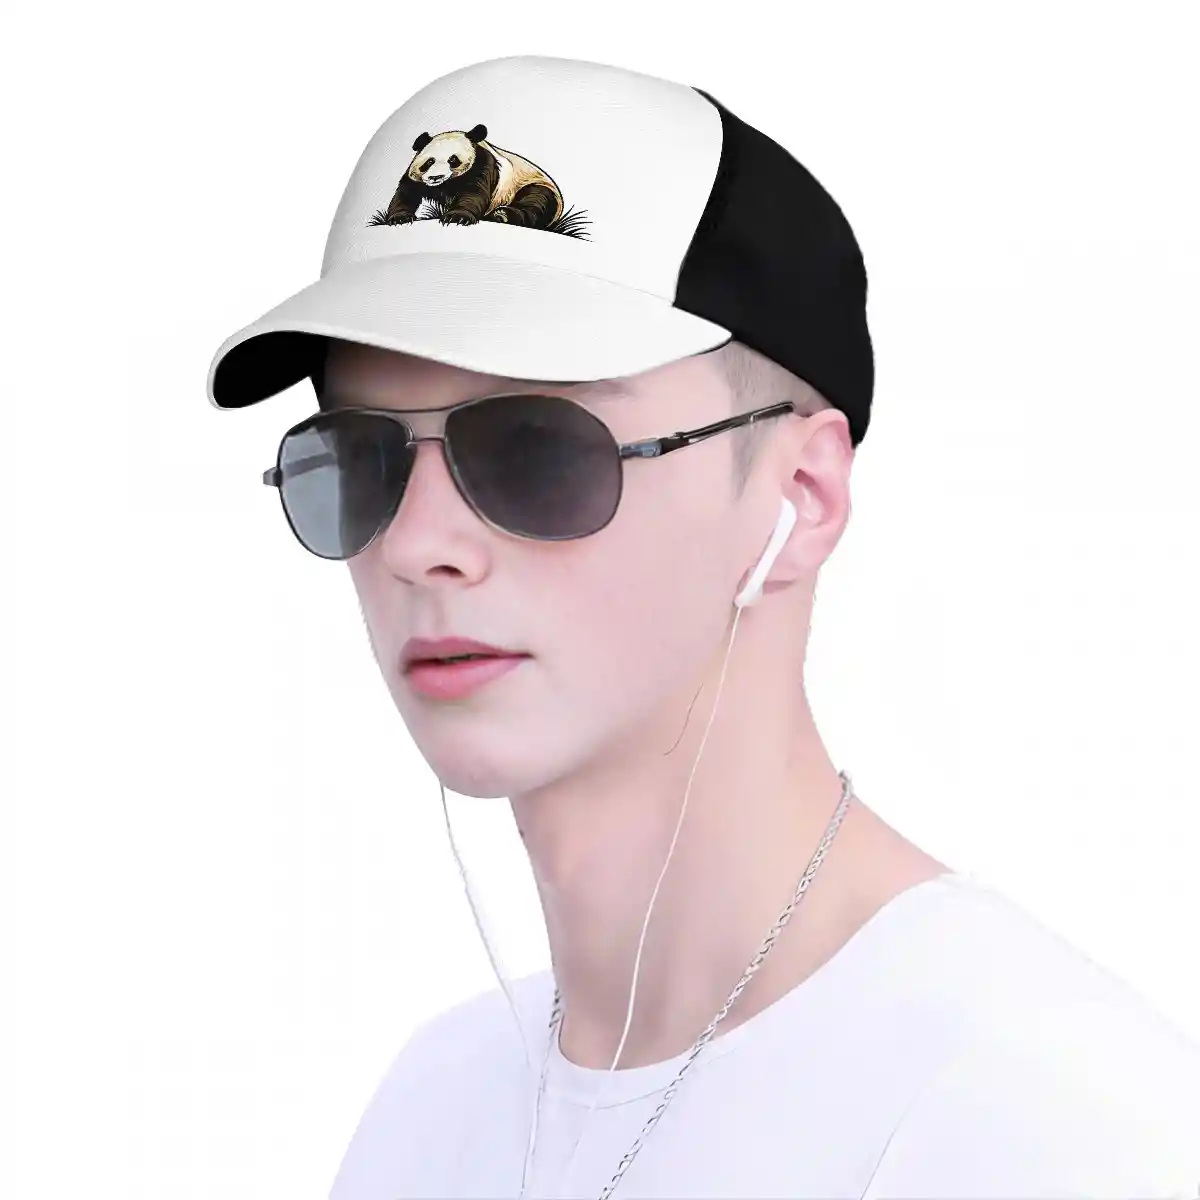
Dad Hats / Baseball Hats
Dad hats and baseball hats are soft, relaxed, and casual—great for everyday wear. They have a curved brim and a slightly rounded front, giving off a "worn-in, lived-in" kind of vibe.
Because the front is curved, logos look better when they're smaller and match the hat's natural shape.
Placement | Recommended Size | Notes |
Front center | 2 to 2.5 inches wide | Most popular and visible spot |
Side panel | 1 to 1.5 inches wide | Good for icons or initials |
Back strap area | 1.2 to 1.5 inches wide | Great for slogans or website |
If your brand is friendly or down-to-earth, this hat is perfect for soft colors and clean embroidery that feel approachable.
Print on Demand Mesh Baseball Cap (Area Pattern) - Hats & Caps - PrintKK
Beanies
Beanies are warm, knit hats perfect for winter, snow trips, or chilly days. They don't have the usual structured panels, so logo placement is a bit different.
Most logos go on the cuff—the folded part at the bottom—so they remain visible when worn.
When planning beanie logo placement, make sure your design fits neatly within the cuff area for the cleanest look.
Placement | Recommended Size | Notes |
Embroidered patch or label on the cuff | 2 to 2.75 inches wide, about 1 inch tall | Visible on folded cuff |
Front area (if no cuff) | Small embroidery, about 1 inch wide | Works well on the knit surface |
Tips:
- Go for high-contrast colors (like gray beanie + white logo)
- Try leather patches or woven labels for a premium look
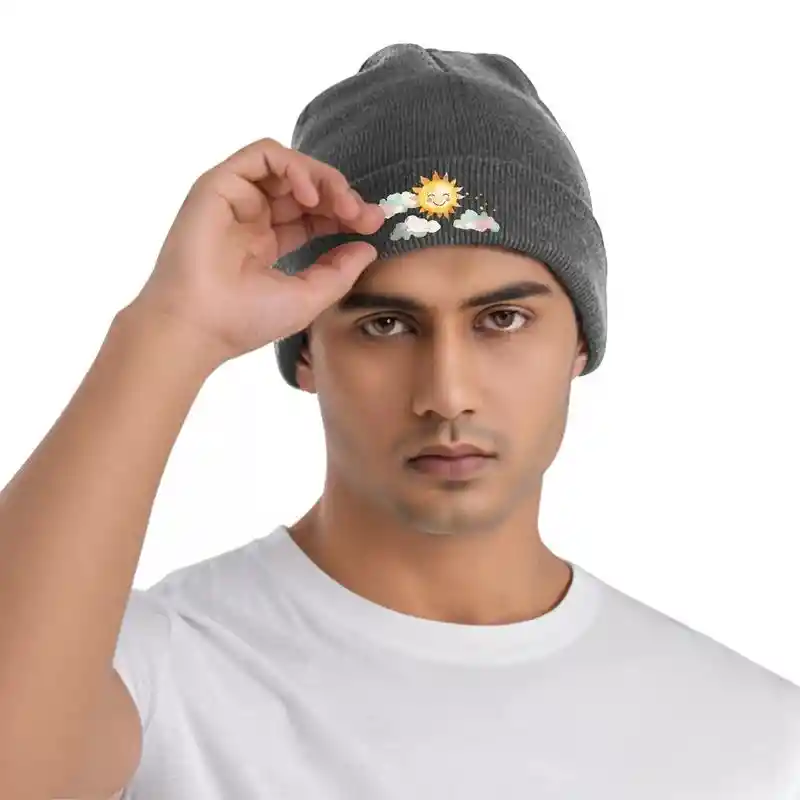
Custom Printed on Demand Knit Hat with Heat Transfer Patch - Hats & Caps - PrintKK
Bucket Hats
Bucket hats have a soft top and a sloped brim. They're great for fishing trips, beach days, or just adding some cool retro flair to your outfit.
Logo placement can be on the front or side, but keep in mind that the surface curves—so simple works best here.
Placement | Recommended Size | Notes |
Front center or slightly off-center | 2 to 2.75 inches wide | Curved surface, keep it simple |
Side panel | 1 to 1.5 inches wide | Good for clean, small designs |
All over print | Cover the entire hat | Useful for repeated logo icons |
Pro tip: Avoid detailed designs—curves and folds can distort them. Go with clean lines and fewer elements.
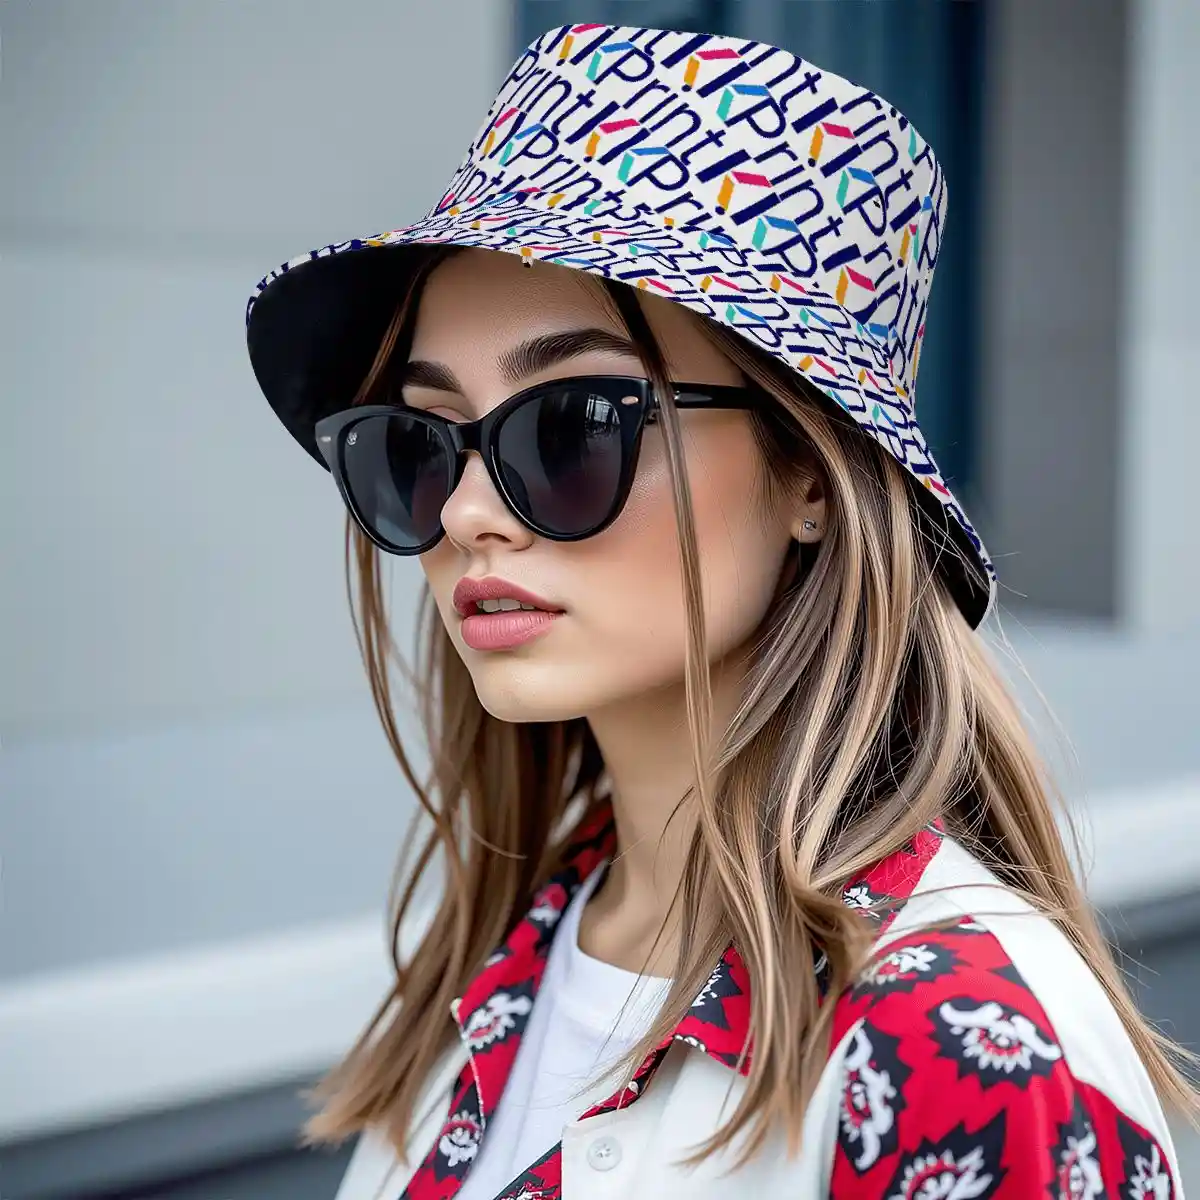
Custom Printed on Demand Adult Bucket Hat - Hats & Caps - PrintKK
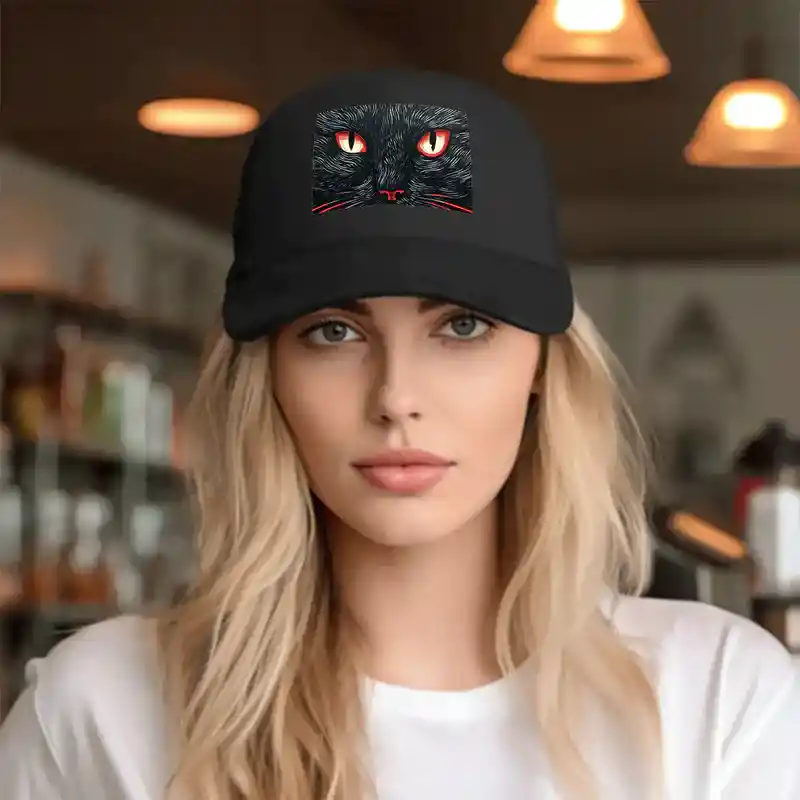
Trucker Hats
Trucker hats feature a foam front and mesh back, making them ideal for summer or active use. They're widely used in promotions or corporate gifting.
The foam front panel is large and flat, perfect for strong branding. If you want to plan accurately, keep a mental trucker hat logo size reference to guide your design.
Placement | Recommended Size | Notes |
Front center | 3 to 3.5 inches wide | Larger logo space for strong impact |
Side or back | About 1 to 1.5 inches wide | Ideal for initials or short text |
Why it's great for branding:
- Large, flat front surface keeps your logo sharp
- High contrast and bold colors really pop here
Print On Demand Mesh Baseball Cap (Full Pattern) - PrintKK
Visor / Golf Hat
Visors don't have a crown—just a brim and an adjustable band—making them perfect for golf, tennis, or sunny outdoor events.
Because there's less space to work with, your logo needs to be clean and perfectly sized.
Placement | Recommended Size | Notes |
Front center of the brim | 1.5 to 2 inches wide | Limited space, keep it simple |
Side of the band | 1 to 1.25 inches wide | Works for small icons or initials |
Things to keep in mind:
- Use crisp, clear logos with clean outlines
- Avoid complex designs or too many colors
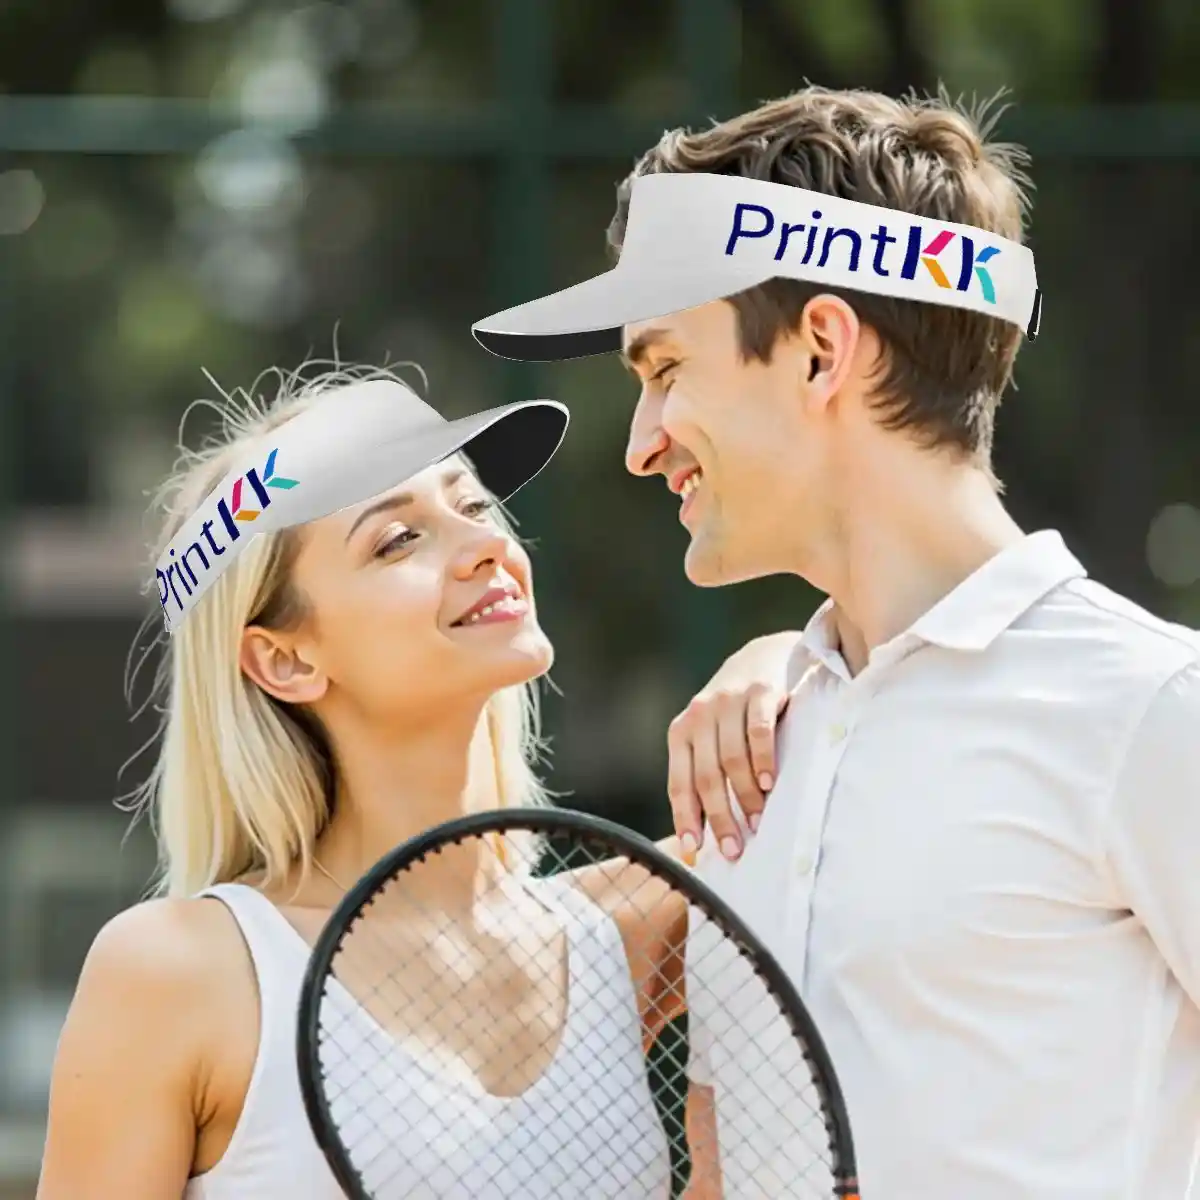
Print On Demand Sun Visor Hat - PrintKK
Max Embroidery Size for Caps
When you plan embroidery for a hat, the maximum size can feel like a moving target. Most caps safely handle around 2 inches to 2.25 inches in height, but it often depends on the hat's profile—low, medium, or high.
You can sometimes push the height up to 2.5 inches. On some advanced machines, people have reached 2.6 inches tall or even wider designs, like 5 inches across.
But these are special cases and usually require expert digitizing to avoid issues like frame crashes.
Think about these general rules:
- 2 inches is the safe zone for most caps.
- 2.25 inches works for medium to high profiles.
- Wider logos (up to 5 inches) are possible with flat panels.
If your design needs something bigger, overseas production often allows embroidery before the cap is constructed. This can unlock wider or taller designs that aren't possible on pre-made hats.
Less is often better. Simple shapes look sharper.
Design Considerations for Embroidery
When designing an embroidered logo for hats, it’s important to understand the limitations and characteristics of embroidery.
Unlike printing, embroidery can’t reproduce extremely fine details, so your logo needs to be adjusted for thread thickness, fabric texture, and machine capability to ensure a clean and professional final result.
1. Avoid overly small or intricate details
Embroidery cannot capture tiny or very thin elements. As a general guideline:
- Line thickness should be at least 0.05–0.07 inches (1.2–1.8 mm)
- Very small text may not stitch clearly
If your logo contains complex details, consider simplifying, thickening strokes, or reducing visual clutter.
2. Choose clear, readable fonts
For embroidery, avoid:
- Thin serif fonts
- Text smaller than 0.25 inches in height
Bold, rounded, or block-style fonts usually stitch much more cleanly.
3. Keep spacing generous
Stitching needs room. If elements are too close together, they can blend or become distorted. Maintain comfortable spacing between letters, shapes, and outlines to keep everything crisp.
4. Limit color count wisely
Embroidery machines use thread changes for each color, so:
- Fewer colors = cleaner results
- Too many colors can cause thread buildup or misalignment
Use a simple, high-contrast palette for the best visibility.
5. Consider fabric and hat structure
The type of hat affects how embroidery behaves:
- Structured caps handle more detailed embroidery
- Unstructured or knitted fabrics may require simpler shapes
- Curved surfaces may distort complex designs
Always adjust your artwork based on the hat’s material and shape.
6. Outline carefully
Outlines can enhance clarity, but if they’re too thin, they may disappear.
Keep outlines thick enough to hold their shape and avoid overly tight borders.
7. Digitizing matters
Even a great design can fail without proper digitizing. Quality digitizing ensures:
- Proper stitch density
- Balanced thread tension
- Clean edges and smooth curves
Work with experienced digitizers or reliable POD services to achieve professional results.
How to Make the Perfect Beanie Hat Logo?
Getting a beanie hat logo right takes some care. First, ensure you have a high-resolution image of the beanie. A low-quality base image makes the logo look unrealistic.
When choosing your beanie logo size, consider both the width of the cuff and how the fabric stretches to keep the design balanced.
Next, think about how the fabric curves. Use the Warp tool in Photoshop to shape your logo so it follows the bend of the beanie. That small detail makes a big difference.
To blend your logo into the fabric, try using:
- Layer masks to tuck edges into the fabric texture
- Blending modes like Overlay or Multiply
- Slight opacity changes to soften the look
Color also matters. Loud, bright logos can clash with soft knit fabric. Go with tones that fit your beanie's style — soft, muted, or neutral colors often work best.
Last tip: Keep the logo a reasonable size. Too large and it looks off. Too small and it disappears. Find the balance.
Design and Create Your Perfect Hat with PrintKK
Starting your own hat line is easier than ever with PrintKK, a print-on-demand platform that takes away all the hassle of inventory and shipping.
You don't have to worry about storing products or packing orders—PrintKK handles it all for you. This means you can focus on what matters most: your designs and growing your brand.
PrintKK also offers an AI-powered design tool that helps you create unique, high-quality hat logos quickly. Whether you want something simple or bold, the AI tool makes designing fun and fast.
They have a wide range of hats available:
You just upload your design, and PrintKK prints it with sharp, vibrant colors. The product quality is excellent, and prices are affordable. This allows you to keep your costs low and earn more profit with every sale.
With PrintKK, making your perfect custom hat is not only possible but also easy and stress-free.
Read More:
- 20 Trending Hat Embroidery Ideas: Make Your Caps Stand Out
- How to make the Print on Demand Hats: Unlock Business Potential
Expert Tips
Now you know that choosing the right hat logo size is key to making your design look great and professional. The size and placement depend on the hat style and how you want your brand to stand out.
Remember, too big or too small can hurt the overall look. Take time to match the logo with the hat's shape and use tools to preview your design.
Keep it simple. Keep it clear. Your perfect hat design is just a few steps away.
FAQs
What is the best size for a hat logo?
A good logo size for hats is usually 2 to 3.5 inches wide. This keeps it visible but not overwhelming. Smaller designs work for front panels, while larger logos fit well on full-back embroidery.
How to measure hat logo size?
Use a ruler or measuring tape to check the width of your design. Place it where the logo will go—like the front or back—to make sure it fits nicely without crowding the hat's seams.
Where should a logo be placed on a hat?
Common spots are the front center, side, or back. Front placement is classic for small logos, while the back suits bigger designs. Avoid areas with seams or curves for cleaner results.
What materials can be used to design a hat logo?
Popular choices include embroidered thread, PVC patches, vinyl, or printed fabric. Each gives a different look—embroidery is durable, while prints work well for detailed designs.


 Global Shipping