


Custom embroidery design doesn't have to be complicated, even for beginners. With the right approach, anyone can learn how to turn simple ideas into clean, stitch-ready designs.
This guide covers the essential steps of creating custom embroidery designs, including planning your artwork, choosing tools, digitizing designs, and applying them to hand embroidery, embroidery machines, or print-on-demand products. Each section focuses on practical techniques that work well for beginners.
By following this guide, you'll gain a clear understanding of the embroidery design process and learn how to create designs that are easy to stitch, visually balanced, and suitable for real products.
How to Make Custom Embroidery Designs (For POD and Machine Embroidery)
1. Start with a Clear Idea
Before picking up a pencil or opening any design software, it's important to clearly define your concept. Think about what product your embroidery will be placed on, such as T-shirts, hats, tote bags, or towels, and decide on the size and placement of the design.
Consider your target audience and the overall style you want to express, whether it's text-based, graphic, or a combination of both. Even a rough sketch helps visualize proportions, spacing, and layout, making the later digitizing and embroidery steps much smoother.
2. Choose the Right Tools
Using the right tools can greatly improve your workflow and final results. For hand-drawn designs, basic tools like pencils and tracing paper are enough to get started.
For digital designs, software such as Canva, Photoshop, or Illustrator allows you to create clean, scalable artwork. If you plan to use an embroidery machine, you will also need digitizing software like Ink/Stitch (free), SewArt (beginner-friendly paid), or Hatch (professional-level).
Clear, bold lines are essential, as very thin lines often do not translate well into embroidery stitches.
3. Simplify Your Design for Stitching
Embroidery behaves very differently from drawing or printing, and overly detailed designs can lose clarity once stitched.
Simplifying your design helps ensure clean, professional results. Focus on strong outlines and clear shapes, and remove unnecessary small details that could clutter the stitches. Leaving enough space between elements prevents thread crowding and distortion.
Simple designs are not only easier to stitch but also work better for POD products and small embroidery areas.
4. Digitize Your Design
Digitizing is the process of converting your artwork into a format an embroidery machine can read. This involves assigning stitch types, stitch direction, and stitch density to different parts of the design.
For POD platforms, you may only need to export your artwork as PNG or SVG files, but for machine embroidery, formats like DST or PES are required.
Always preview the stitch simulation in your software to catch potential issues before stitching.
Key points:
- Import hand-drawn or digital artwork into software
- Assign stitch types such as satin or fill stitches
- Adjust stitch density and direction for smooth results
- Preview the stitch layout before finalizing
- Export files: DST/PES for machines, PNG/SVG for POD
5. Choose Colors and Materials Carefully
Thread color and fabric choice greatly affect the final embroidery appearance. Choose thread colors that contrast well with the fabric so the design remains visible.
For beginners, stable fabrics like cotton or canvas are recommended, as they are easier to work with and hold stitches well. Avoid stretchy or slippery materials, which can cause distortion.
Proper stabilizers also help keep the fabric firm during stitching and improve overall quality.
Key points:
- Select thread colors with strong fabric contrast
- Use beginner-friendly fabrics like cotton or canvas
- Avoid stretchy or slippery fabrics
- Choose suitable stabilizers to prevent distortion
- Test color combinations before final production
6. Test and Refine Your Design
Testing your design before final production is essential. Stitch the design on scrap fabric that closely matches your final material to check stitch quality, density, and alignment.
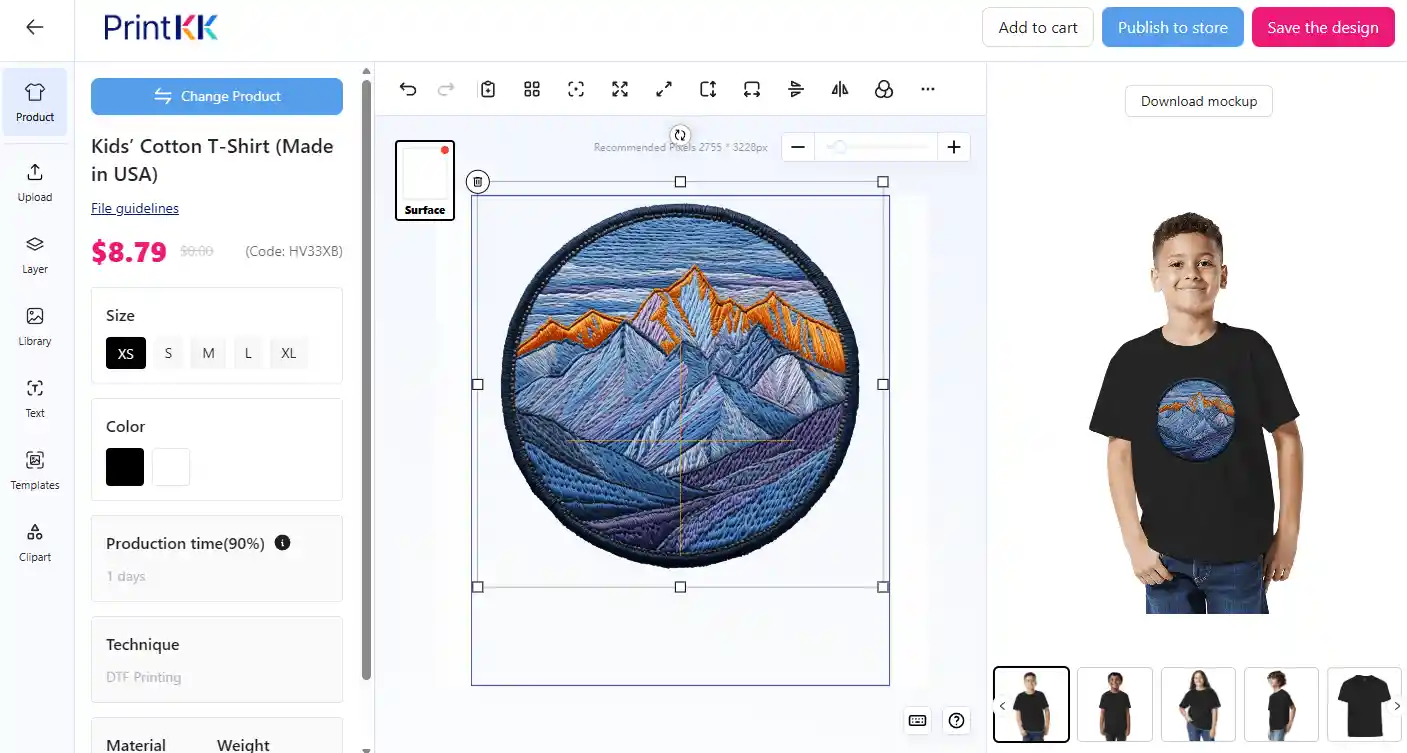
Look for issues such as loose threads, uneven edges, or missing details. For POD products, create mockups or sample products to ensure colors, size, and placement look correct.
Testing allows you to make adjustments and avoid costly mistakes.
Key points:
- Test stitch on scrap fabric before final production
- Check for loose threads, gaps, or messy edges
- Adjust stitch density or design elements if needed
- Create POD mockups or samples for visual checks
- Ensure correct size, color accuracy, and placement
7. Save and Organize Your Files
Once your design is finalized, proper file management will save you time in the future. Keep all related files organized, including original sketches, digitized embroidery files, and notes on adjustments made during testing.
Save files in the correct formats depending on their use. Good organization makes it easier to reuse, modify, or sell your designs later, especially if you plan to build a design library or run a POD business.
Key points:
- Save original sketches and artwork files
- Keep digitized embroidery files and test notes
- Use correct formats: DST/PES for embroidery, PNG/SVG for POD
- Organize files into labeled folders
- Efficient file management supports long-term reuse and scaling
How to Convert a Picture into a Hand Embroidery Design?
Turning a photo into a hand embroidery pattern might seem tricky, but it's quite doable with some easy steps.
Try searching for a coloring book page or a simple outline drawing of your subject online. These line arts are perfect because you can trace them directly onto your fabric and fill them in with thread.
If you have a photo you want to use, you can make the outline stand out by editing it on an iPad or tablet. Use an app to trace the important lines, then delete the photo, leaving only your outline. This way, you can use your device as a tracing board, placing it under your fabric for easy transfer.
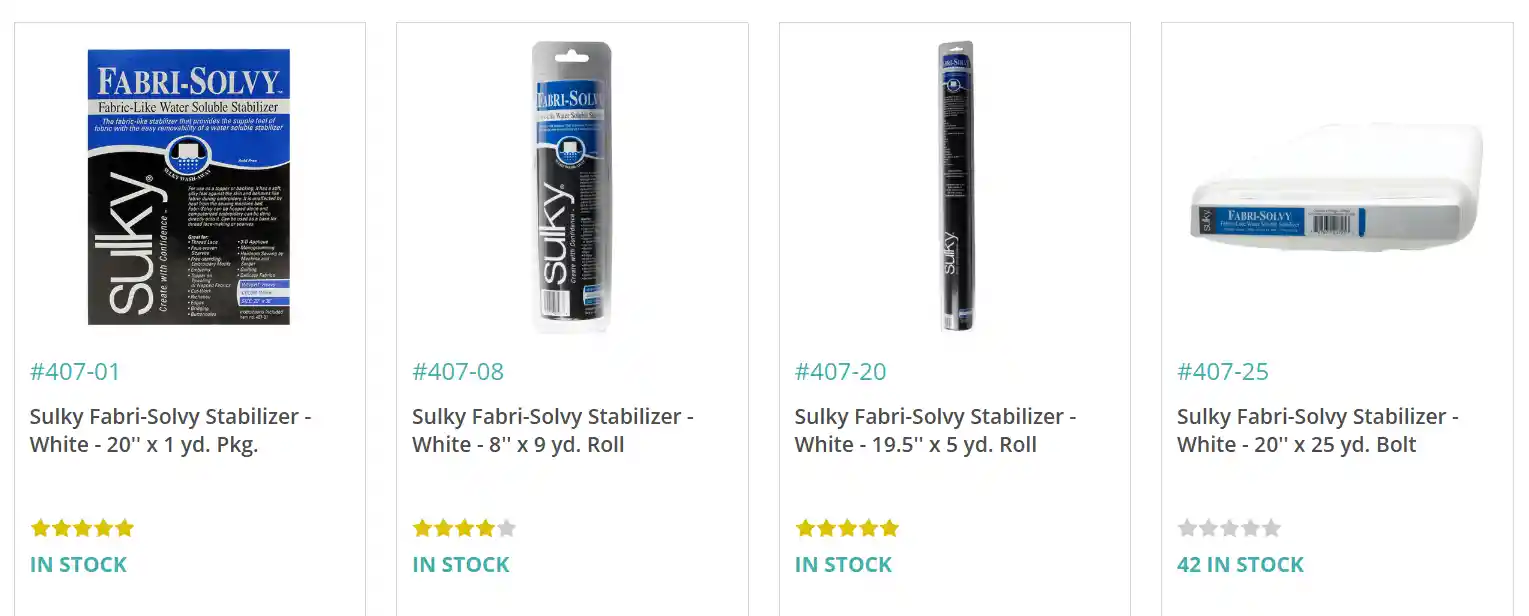
Another great tool is Sticky Fabri-Solvy stabilizer. You can draw or print your pattern on it, then stick it on your fabric and embroider right over it. It washes away later, leaving only your stitches behind.
For color choices, look at real pictures to pick thread colors that match closely.
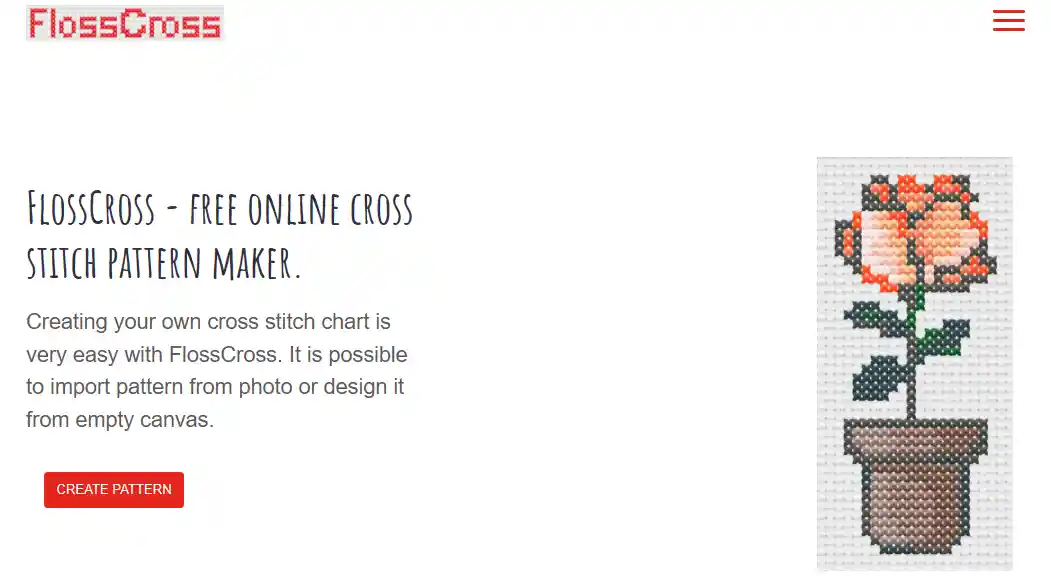
If you want a digital helper, check out free tools like Flosscross to convert photos to patterns, adjust colors, and even get a floss list.
How to Digitize an Image for Embroidery Machines
Digitizing an image means turning your design into a format that an embroidery machine can read and stitch. It's an important step if you want your design to come out just right.
Check what file types your machine supports. Common ones are DST, PES, or EXP. Your machine's manual or website should tell you this.
If your machine can't connect directly to your computer, you'll probably need to save the digitized file on a USB stick and plug that into the machine.
Convert your design into a vector file. This means changing it from pixels to shapes that software can easily read. You can use free tools like Inkstitch, which works as a plugin for Inkscape.
Although it's not as powerful as paid software, it's a great way to learn the basics without spending money.
After you vectorize your image, you digitize it by assigning stitch types and directions. This step is key because it decides how the machine will sew your design.
Many tutorials online explain this well — check out YouTube channels like John Deer's Embroidery Legacy for detailed guides.
Once you finish digitizing, export the file in your machine's preferred format, transfer it, and you're ready to stitch.
If you don't want to digitize yourself, you can find many ready-made embroidery files online. Just download and load them onto your machine.
Best Embroidery Digitizing Software for Beginners
Before you start stitching, you need to digitize your design. This means converting your image into a file your embroidery machine can read. Let's look at some software options, from free to paid.
InkStitch: Free and Friendly
If you want something free, try InkStitch. It works as a plugin for Inkscape, a free vector editor. It's great for beginners because it runs on Mac, Windows, and Linux.
You can create vector images and digitize them with some practice. The learning curve is there, but the online tutorials and community support help a lot.
Stitch Era Liberty: Affordable Subscription
For a low-cost option, Stitch Era Liberty costs about $200 per year. It's not perfect but does a good job for basic digitizing. This is a nice step up if you want more features than free software but don't want to spend too much.

Paid Software: Powerful but Pricey
Programs like Hatch or SewWhat Pro cost a lot more—sometimes over $1,000. These have many advanced tools but can be overwhelming and expensive if you're just starting. Some cheaper paid programs can be buggy or limited, so try free trials before buying.
Extra Tools: StitchBuddy for Viewing
If you just want to view or tweak embroidery files without digitizing, StitchBuddy is a helpful tool. It's not for creating designs but great for checking colors and stitches.
Key Elements of a Great Embroidery Design
When you're creating an embroidery pattern for print on demand, there are a few things that can make your design really stand out. Paying attention to these details will save you time and make your designs look professional.
Clear and Simple Shapes
Embroidery works best when shapes aren't too busy. If your design has too many tiny details, some of them might get lost when stitched. Focus on bold outlines and recognizable forms that stay clear at any size.
Balanced Composition
A great design feels balanced. You don't want one side of your pattern to feel heavy while the other looks empty. Try arranging your elements so that the eye moves naturally across the design.
Color Choices That Pop
Pick colors that work well together and give enough contrast. Even subtle differences can make a huge impact. Keep in mind that colors on screen might look different when stitched, so test before finalizing.
Stitch-Friendly Details
Tiny dots, thin lines, or very intricate textures can be tricky to embroider. Think about how each stitch will translate and simplify details where necessary. This will make your pattern easier to reproduce without losing its charm.
Personality and Story
The best designs tell a little story or carry some personality. Ask yourself: what feeling do I want this piece to give? When your design connects with people, it's more likely to sell and be loved.
Best POD Products for Custom Embroidery Designs
1. T-Shirts
T-shirts usually have embroidery on the chest, sleeves, or near the collar. Small logos, text, or simple patterns work best.
This spot is perfect for casual looks or group uniforms. You can create clean, minimal designs or fun, colorful ones depending on your style and purpose.
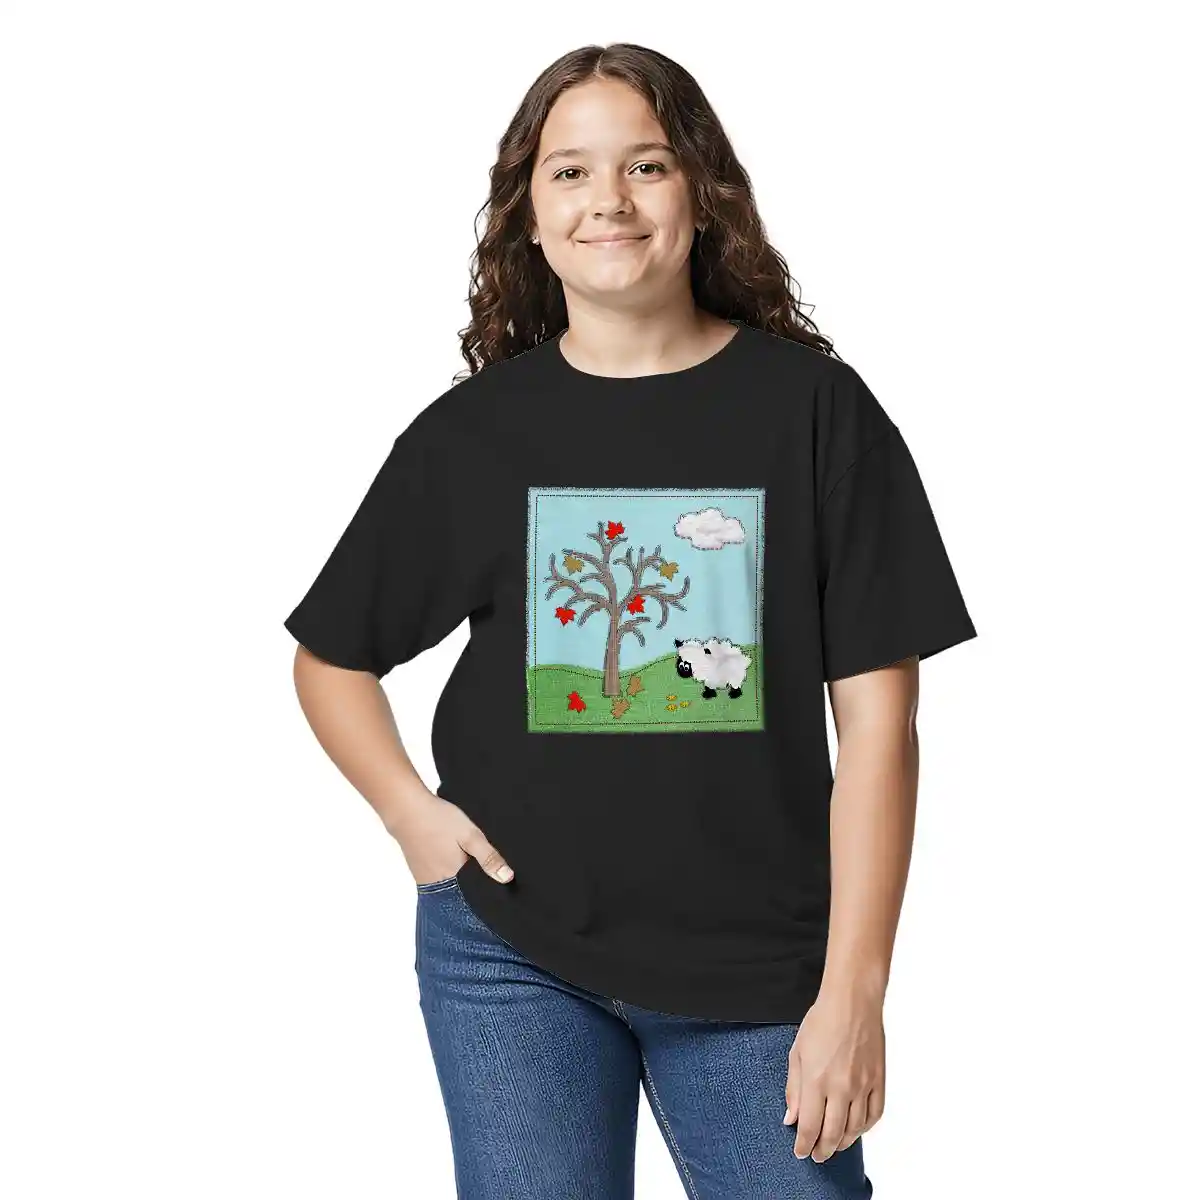
Custom Gildan 5000B Youth Cotton T-Shirt (Made in USA) - Print-On-Demand - PrintKK
2. Caps/Hats
Caps are great for embroidery on the front panel or sides. Bold logos, initials, or simple shapes look clear and sharp there. This product suits sporty, outdoor, or casual styles. You can keep the design simple and strong to stand out on these smaller spaces.

Source: EmbroideryByNeslihan
3. Tote Bags
Embroidery on tote bags is usually placed on the front center or near the handles. Monograms, floral patterns, or quotes work well here. These bags are perfect for shopping or everyday use. Choose delicate or elegant designs to make them look stylish and personal.
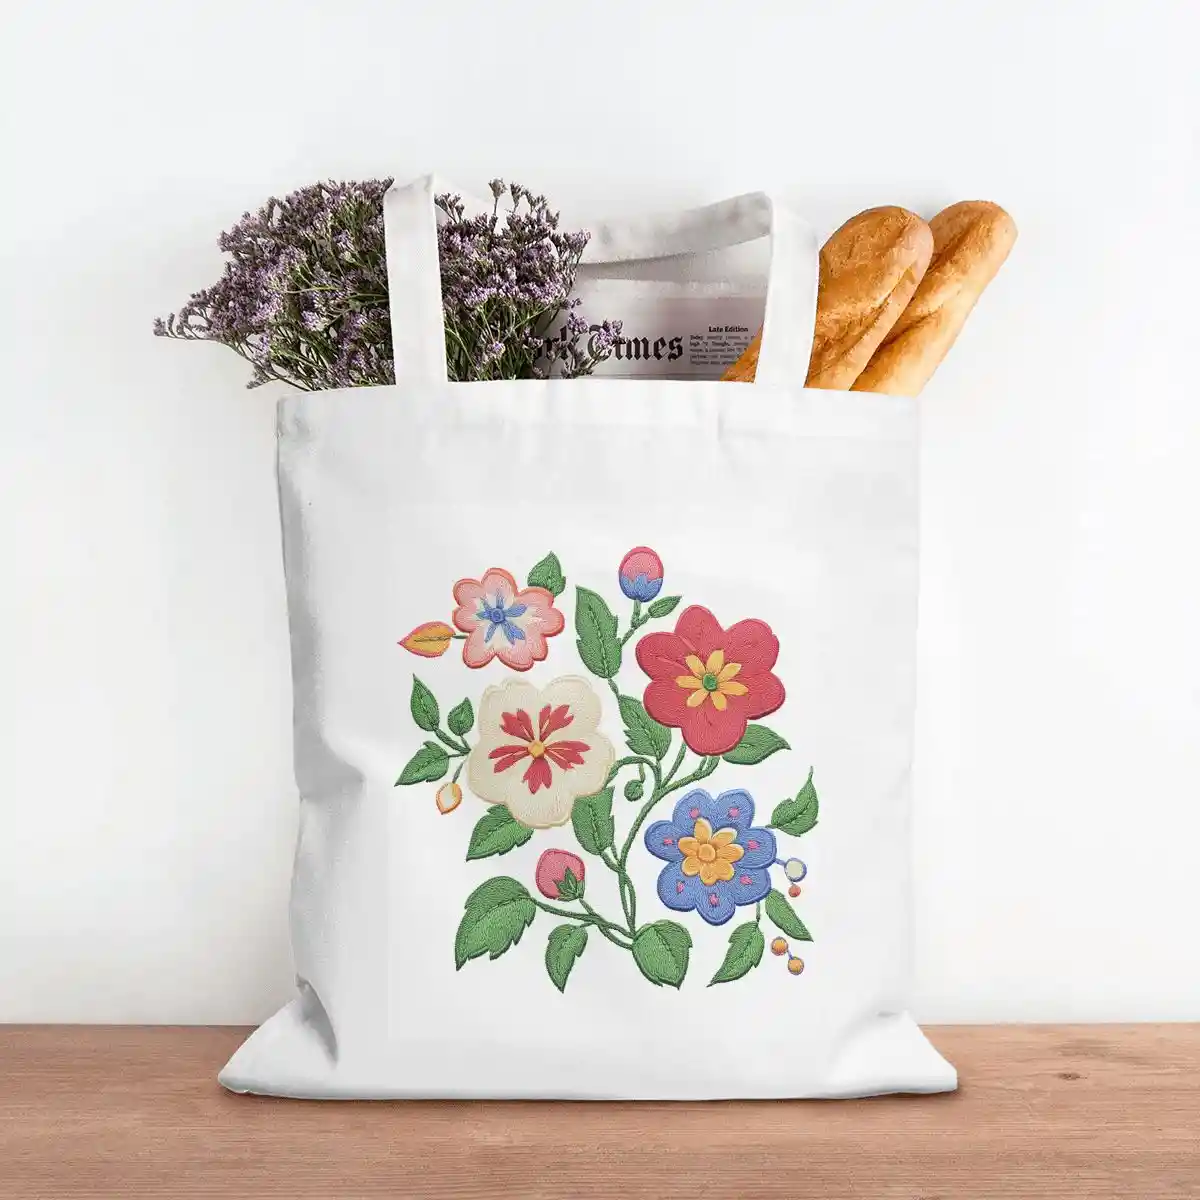
Print on Demand Canvas Tote Bag (Made in USA) - Handbag - PrintKK
4. Socks
The ankle or side of socks is the common embroidery area. Small icons, initials, or playful patterns fit nicely in this limited space. Embroidered socks are great for casual wear or gifts. Simple, cute designs help add a subtle but fun touch.
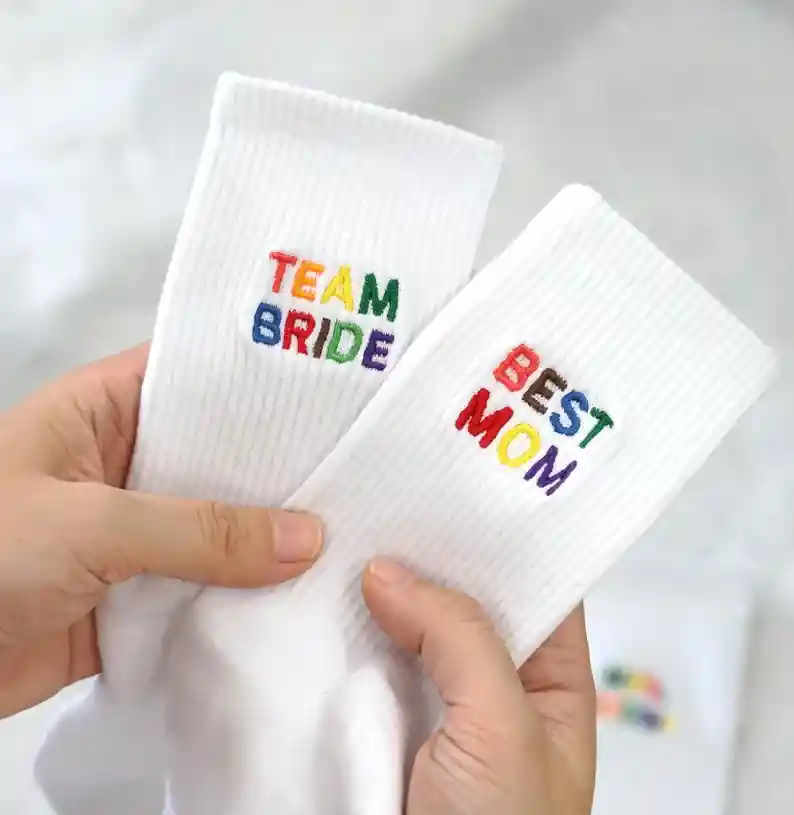
Source: ACustomGiftShop
5. Hoodies
Hoodies offer several spots like the chest, sleeves, or hood edges for embroidery. Larger, detailed designs or text work well here. They are ideal for cooler weather, sports, or streetwear styles. You can mix bold and intricate styles to match the cozy vibe.
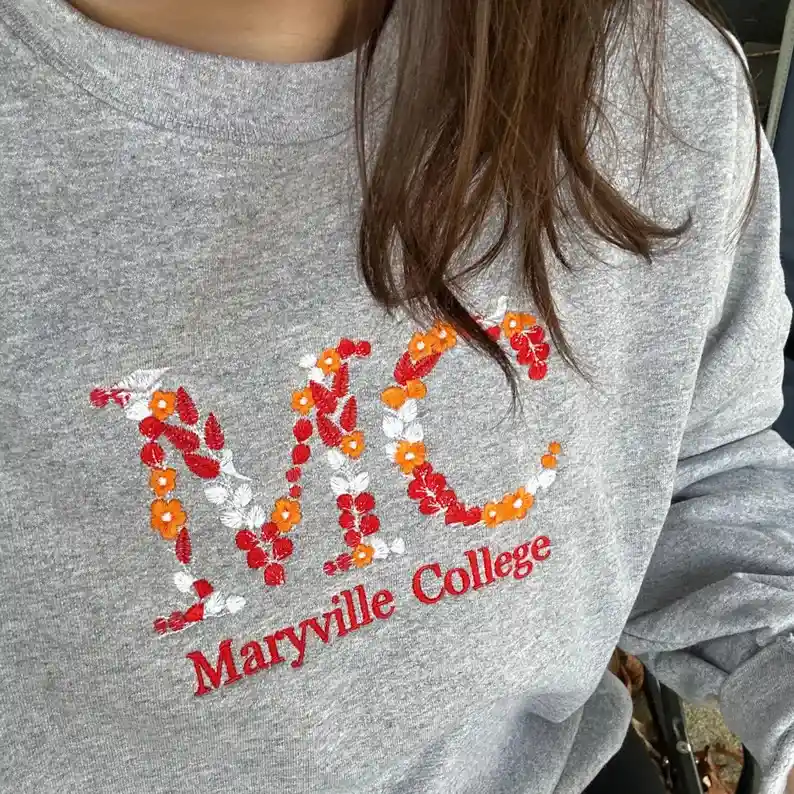
Source: JoanheneStore
6. Hand Towels
Hand towels usually have embroidery in one corner or along the edges. Simple names, logos, or decorative borders look neat. These towels make great personalized gifts or gym accessories. Clean and minimal embroidery styles suit this practical product best.

Source: TeaRoseByPamela
Read More:
Price Embroidery Work for Small Businesses
Pricing embroidery work is an essential step if you plan to sell your designs, whether as custom pieces or POD products. While it may seem complicated at first, a clear pricing structure makes the process much easier and more consistent.
Factor in fabric, thread, stabilizers, and your time. Don't forget small things like needles or machine maintenance—they add up over time.
Next, think about how much your time is worth. If a design takes two hours, calculate what you want per hour. Many small business owners use this simple formula:
- Cost of materials
- Hourly rate × hours spent
- Any extra for overhead or special techniques
It's okay to adjust your prices as you go. Small businesses need flexibility—sometimes a simpler piece can sell for more if it's unique or uses premium materials.
Pricing isn't just about covering costs; it's about showing the value of your creativity and skill.
Cost/Factor | Description | Example (USD) |
Materials | Fabric, thread, stabilizer, needles | 3 |
Labor | Time spent designing and stitching | 2 hours × $15 = 30 |
Special Techniques / Design | Extra charge for complex or unique patterns | 5 |
Total Cost | Sum of all costs | 38 |
Suggested Price | Total cost × 1.3–1.5 | 50–55 |
This table gives you a clear view of your costs and profit margin. You can adjust each factor depending on the design, size, or materials to make sure your pricing stays fair and sustainable.
Read More:
Expert Tips
Creating custom embroidery designs is a skill that improves with practice, not complexity. By starting with clear ideas, using beginner-friendly tools, and keeping designs simple and stitch-ready, you can avoid many common mistakes and achieve cleaner results.
Whether you are working with hand embroidery, embroidery machines, or print-on-demand products, the key is to test your designs, make small adjustments, and build experience step by step. With a solid workflow and thoughtful design choices, even beginners can create embroidery designs that look professional and work well on real products.
FAQs
What skills do I need to create embroidery designs?
Basic drawing, creativity, and computer skills help. Learn design software, understand stitching basics, and practice patience to craft unique embroidery patterns that work well.
Is there any free embroidery software?
Yes, there are free options you can try. Some programs let you create and edit basic designs without cost. They are great for beginners who want to experiment before investing in advanced tools.
What program should I use to create embroidery designs?
Use software like Brother PE-Design, Hatch, or Inkscape (free). These programs let you draw, edit, and convert designs into files your embroidery machine can read.
Can I turn a picture into an embroidery design?
Yes! Use software to convert photos into stitch patterns. Adjust colors and details to simplify the image for clean, effective embroidery results on fabric.
How do I turn an image into an embroidery file?
You can convert images using embroidery software that supports digitizing. The software traces your design and creates stitch paths. Adjust settings to match your fabric and thread for the best results.
What do you print embroidery patterns on?
Patterns can be printed on transfer paper, tracing paper, or even directly on fabric using light pencil or erasable pens. Choose a method that lets you easily follow the lines while stitching.
How to make embroidery designs on clothes at home?
Start with a clean garment and secure it in a hoop. Transfer your pattern using tracing or transfer paper, then stitch carefully. Work slowly to keep designs neat and consistent.
What's the difference between custom embroidery designs and stock designs?
Custom designs are unique, made by you for specific projects. Stock designs are pre-made, less personal, but quicker and often cheaper to use for embroidery.
How expensive is custom embroidery?
Costs vary. Design software ranges from free to $200. Threads and materials add $10–$50. Custom work takes time, but you control the budget.


 Global Shipping


 Made in USA