


DTF printing has quickly become one of the most popular methods for creating vibrant, durable, and versatile designs on fabric.
Whether you're a hobbyist or a small business owner, understanding how to use DTF transfer film correctly is key to achieving professional-quality results.
From printing your design and applying adhesive powder to heat pressing and peeling, each step influences the final look, feel, and durability of your prints.
This guide will walk you through the entire process, helping you create smooth, long-lasting transfers at home with bright, vivid colors on cotton, polyester, and blends.
What Is DTF Printing and DTF Transfer Film?
DTF printing (Direct-to-Film) is a modern textile printing method where designs are printed onto a special PET film using water-based or pigment inks.
The printed film is then coated with a hot-melt adhesive powder, which sticks to the ink. After curing the powder, the design can be heat-transferred onto various fabrics, including cotton, polyester, and blends.
DTF transfer film is the PET film used in this process. It acts as a temporary carrier for the design from printer to fabric. Its smooth surface ensures precise ink deposition, and after applying adhesive powder and heat, it enables vibrant, durable prints.
DTF is favored for its versatility, ability to print complex designs, and compatibility with multiple fabric types.
DTF printing = print → powder → cure → transfer.
DTF film = the medium carrying the design.
How to Use DTF Transfer Film for DTF Printing at Home
Step 1: Prepare Your Design
Start by making sure your design is exactly how you want it to appear. High resolution is important because DTF printing captures every detail—blurry or low-quality images will show even more clearly on the final garment.
If your design contains text, mirror it before printing; otherwise it will appear backward. Bright colors work best because DTF inks produce vivid, long-lasting tones, but make sure to use DTF-compatible inks so the colors stick properly during transfer.
Spending a bit of extra time refining your design now saves frustration later when the print doesn't match your expectations.
Step 2: Print Your Design on Film
Load your DTF film into the printer and make sure to use DTF inks only, as regular inks will not stick properly.
Print the design carefully and watch the colors as they come out, because small adjustments now are easier than fixing them after transfer.
Let the film sit briefly so the ink starts to set before adding powder. This pause helps prevent smudging and keeps the edges of your design crisp.
Step 3: Apply Adhesive Powder
Once the ink is still slightly wet, sprinkle the adhesive powder evenly across the design. Shake off any excess so only the printed areas are coated.
The powder is what makes the design stick during heat pressing, so don't skip this or rush it. If the coverage is uneven, your print might peel in certain areas.
Smooth, even powder coverage makes a big difference in the durability and feel of the final print.
Step 4: Heat Set the Powder
After applying powder, it's time to cure it. Use a heat press or oven according to the powder's instructions.
The heat melts the powder just enough to bond it to the ink without affecting the film. Be precise with temperature and timing; too hot can ruin the film, and too cold may leave the powder loose.
After this step, the film is ready to transfer, and the adhesive is fully activated, making sure your print sticks properly to the fabric.
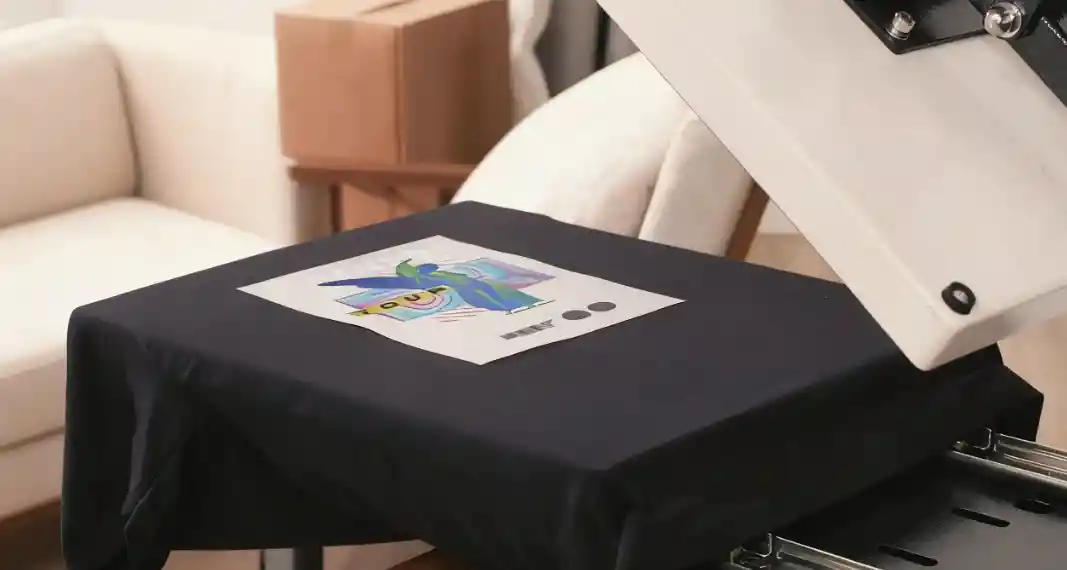
Step 5: Transfer to Fabric
Place the film carefully on your fabric and use a heat press to transfer the design. Follow the recommended time and temperature for your material—typically around 160–170°C (320–338°F) works well for most fabrics.
When you peel the film off, the design should be vibrant, smooth, and fully adhered. This method makes prints that feel soft to the touch and last through multiple washes.
Paying attention to positioning and pressure at this stage ensures the finished garment looks polished and professional.
How to Make DTF Prints Feel Softer
1. Understand Why DTF Prints Feel Stiff
DTF prints can feel stiff because of the way the ink layers sit on the fabric. Thick white underlayers and the main ink layer create a raised surface.
The hot melt powder and the coating on the film also add extra thickness. Compared with screen printing or DTG, DTF naturally feels heavier on your fingers.
Understanding this helps you know what to adjust if you want a softer result.
2. Design-Level Improvements
You can make a big difference just by changing your design:
- Reduce Underbase Opacity – Thinner white ink underlayers mean less stiffness.
- Use negative space and halftones – Leaving some areas of the fabric exposed or using halftones reduces overall ink thickness.
- Punch holes with RIP software – Some programs let you control where ink is applied digitally, creating a lighter feel.
These small changes in your artwork can make the print feel noticeably softer without changing your printing process.
3. Printing and Material Adjustments
Your choice of materials also matters:
- Choose a finer adhesive powder – It melts more evenly and creates a smoother surface.
- Experiment with different transfer films – Hot-peel and cold-peel films can feel different after pressing.
- Use quality ink – Premium inks tend to be thinner and smoother, which improves the final hand feel.
Trying different combinations can help you find the best balance between color intensity and softness.

4. Finishing Techniques
After printing, a few finishing tricks can soften the design further:
- Do a second press – Re-pressing slightly flattens the transfer layer.
- Use a textured press sheet (like pique fabric) – This adds a natural texture to the print.
- Adjust press temperature and pressure – Lowering or fine-tuning these can reduce stiffness.
These steps don't change the ink itself but improve how it feels against your skin.
5. What to Expect: Realistic Results
Even with all these adjustments, DTF has physical limits. You can get close to a lightweight screen printing feel, but it won't feel exactly like DTG or soft cotton printing.
Sometimes multiple tests are needed to find the right balance between color vibrancy and softness.
Being aware of these limits helps you manage expectations and make smarter tweaks.
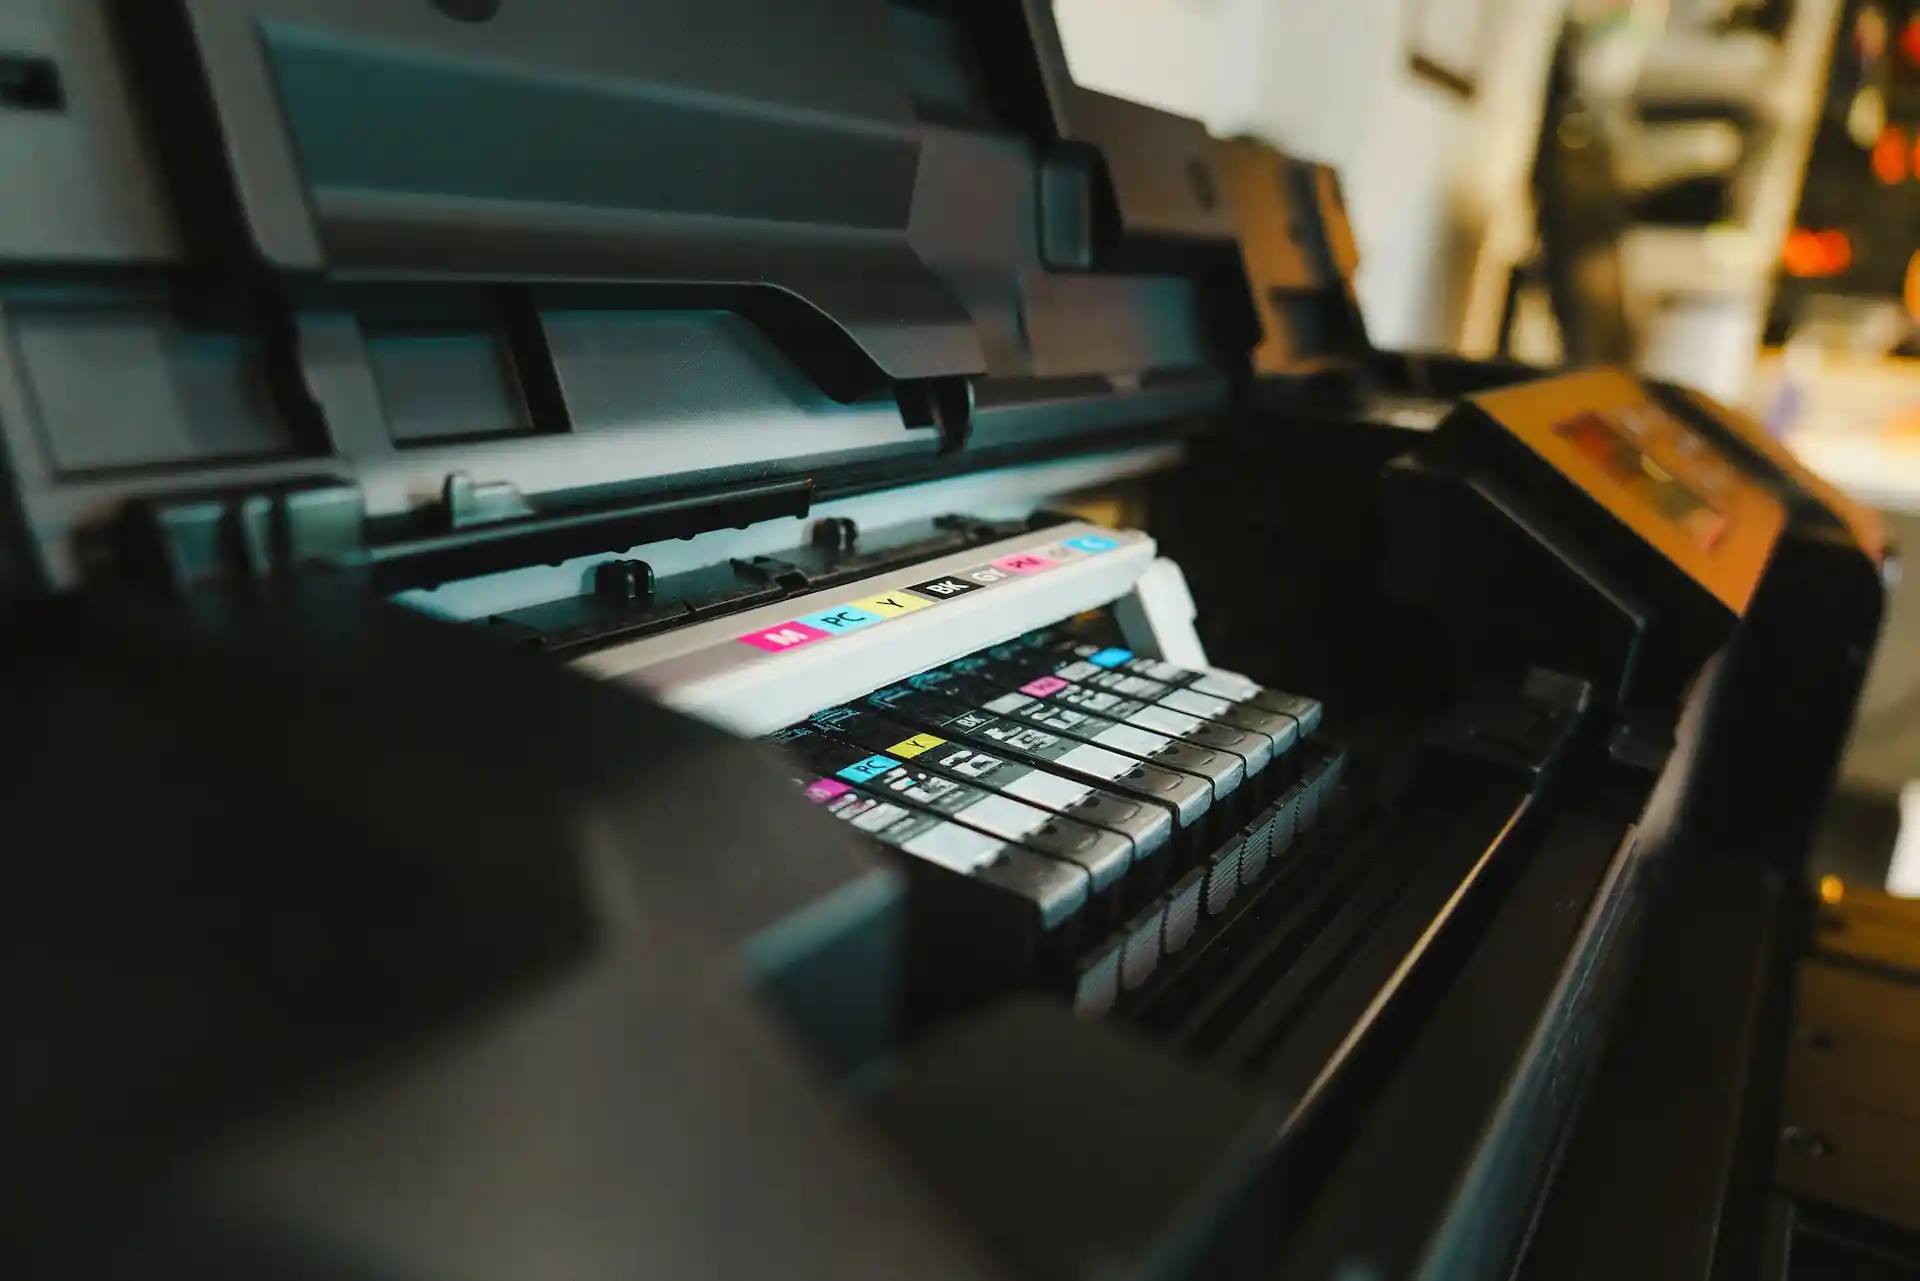
DTF Printer Setup and Maintenance
Choosing and Setting Up Your Printer
Pick a printer that works with DTF inks and films. Make sure it is compatible with white ink circulation if you plan to print white underbase.
Place your printer on a stable, flat surface to avoid vibrations. Connect it to your computer and install the correct drivers.
Checking the setup carefully before printing saves a lot of frustration later and ensures your first prints look clean.
Installing Inks and Films Properly
When filling your printer with inks, handle them carefully to avoid spills. Shake the white ink bottle well before use to prevent settling.
Load the DTF film according to the printer instructions. Make sure the film is flat and aligned correctly.
Using good-quality inks and films not only improves print quality but also prevents clogs and reduces maintenance problems.
Daily and Weekly Maintenance
Clean the printer nozzles and heads regularly to avoid clogging, especially if you use white ink.
Check for air bubbles in the ink lines and purge them if needed. Wipe down surfaces to remove any dust or stray powder.
A small daily and weekly routine keeps your printer in top shape and ensures consistent print quality over time. Think of it as caring for your printer like it's a delicate tool.
Troubleshooting and Preventing Problems
Sometimes prints might have missing lines, faded colors, or white ink issues. Check the nozzle status and run a cleaning cycle if needed.
Keep spare dampers or tubes ready in case of blockages. Avoid leaving inks idle for long periods, as it can dry out and damage the printer. With regular care and quick troubleshooting, you can prevent major problems and keep your printer running smoothly.
Safe Layout and Protection for DTF Printing at Home
Wear Proper PPE
Always protect yourself when working with DTF materials. Use a respirator (N95/FFP2) to avoid breathing in fine adhesive powder.
Wear gloves made of nitrile or latex to keep your hands safe from inks and powders. Don't forget goggles or safety glasses—they stop powder from getting into your eyes.
Ensure Good Ventilation
Make sure your workspace has good airflow. Open windows and use fans to move air from the room to the outside.
A small HEPA air purifier can help trap tiny powder particles. Also, try to direct the airflow away from other rooms to prevent spreading dust and fumes.
Divide Workspace Into Zones
Keep your work area organized by creating separate zones for:
- Printing
- Powdering
- Heat pressing
Use tables, trays, or mats to define these zones and catch spills. Keep unrelated equipment and furniture out of the workspaces. Clear zones help avoid accidents and make cleanup easier.
Contain Powder
Adhesive powder can spread quickly, so take steps to contain it:
- Use shallow trays when applying powder
- Place mats or protective sheets under your workspace
- Consider plexiglass or small barriers to block powder from drifting
Being careful here makes your prints cleaner and reduces the mess in your home.
Store Inks, Powders, and Films Safely
Keep all DTF supplies in closed containers when not in use. Store powders and inks away from heat or sunlight to prevent damage.
Clearly label everything so you won't mix things up by mistake. Safe storage helps your materials last longer and keeps your workspace tidy.
Maintain Safe Equipment Placement
Always place your heat press on a stable, non-flammable surface.
Make sure it stays far from walls, curtains, and other flammable items. Let the equipment cool completely before moving or cleaning it. This simple habit prevents accidents and keeps your workspace safe.
Print on Demand ZUNI Men's Cotton Tank Top Customized Services - Men's Clothing - PrintKK
DTF Printing for Small Businesses: DIY vs Outsourcing
If you're running a small business, deciding between doing DTF printing yourself or outsourcing can be tricky.
DTF printers can cost less than $3,000, but they require a lot of hands-on work. You'll need to handle every step manually—applying powder, curing prints, and keeping the machine in top shape.
Maintenance can quickly become a headache, especially when dealing with white ink.
Outsourcing is a practical alternative, especially if your volume is low. You can:
- Order small batches from reliable online DTF suppliers.
- Avoid spending time troubleshooting or maintaining expensive equipment.
- Ensure professional-quality prints without risking your designs.
For beginners or small shops, sending designs out often saves time and stress. Look for trusted companies with fast shipping, consistent colors, and respect for your artwork.
This way, you can focus on growing your business instead of fixing printers.
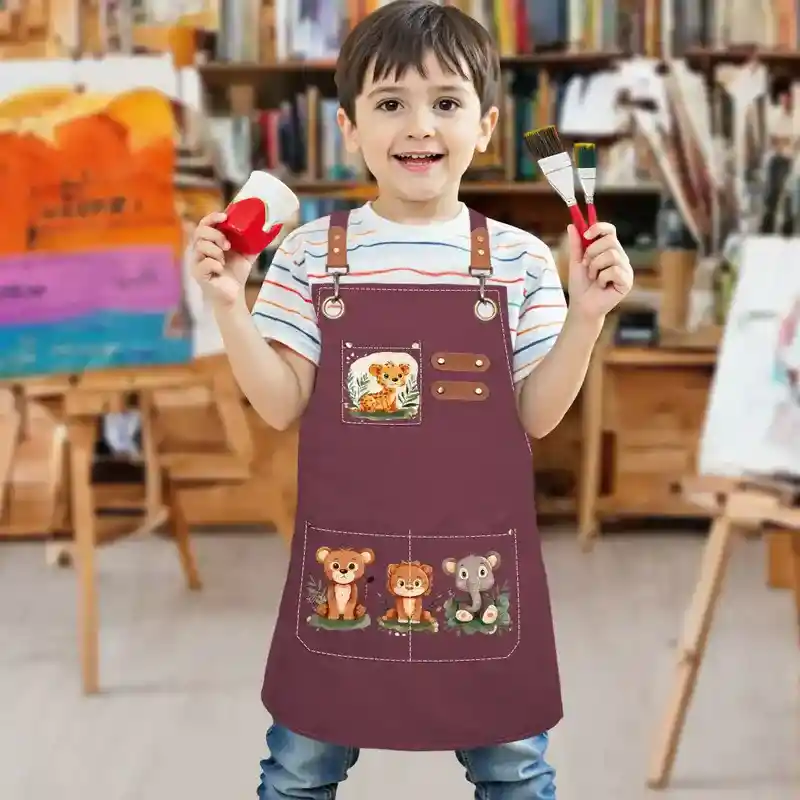
Custom Children's Canvas Cross Back Apron with Pockets - Print-On-Demand - PrintKK
Get High-Quality DTF Prints at Home with PrintKK
Using PrintKK to create DTF prints at home is simple and fun.
You can browse their wide range of products like t-shirts, hoodies, and hats. Then, use the online design tool to upload your artwork, add text, or customize colors.
Once your design is ready, you can place your order directly through the platform, and PrintKK takes care of the printing and shipping.
One of the great advantages of using PrintKK is their cost-friendly and convenient setup:
- Products shipped to the United States don't charge seller tax fees.
- Many items made in the US come with free shipping.
- All products are high quality and low cost, making them perfect whether you are buying for yourself, gifts, or selling online.
PrintKK also offers an AI Image Tool that helps you enhance your designs quickly. Even if you're new to DTF printing, you can:
- Add creative details to your designs
- Adjust colors and backgrounds easily
- Experiment with new ideas without stress
With these tools and benefits, creating personalized, high-quality DTF prints at home becomes easy and enjoyable. Whether you're gifting or selling, PrintKK helps you get professional results without a complicated setup.
Expert Tips
DTF printing allows you to create vibrant, durable designs on a variety of fabrics. Correct use of DTF transfer film is essential for professional-quality results. By carefully following each step—printing, applying adhesive powder, heat pressing, and peeling—you can achieve smooth, long-lasting prints at home that look and feel great.
FAQs
What are DTF transfers made of?
DTF transfers consist of a printed ink layer, a white ink underbase, a hot-melt adhesive powder, and a clear film. These layers work together to allow the design to stick to fabric when heat is applied.
What equipment and materials do I need for DTF printing at home?
You'll need a DTF-compatible printer, white and color inks, transfer films, adhesive powder, and a heat press. Basic tools like trays, gloves, and cleaning supplies help keep your workspace safe and organized.
Can I use a regular printer for DTF transfers?
Regular printers usually aren't designed for DTF inks or white ink circulation. Modifying one can damage it, so it's better to use a printer specifically compatible with DTF for safe, consistent results.
How to prevent DTF transfer peeling?
To avoid peeling, ensure the fabric is clean, dry, and heat-resistant. Apply the correct temperature and pressure during pressing, and avoid stretching the area immediately. Proper curing and adhesive powder usage are essential.
Is DTF printing better than sublimation?
DTF printing works on many fabrics, including cotton, unlike sublimation which needs polyester. While it may feel slightly thicker, DTF provides bright colors and flexible application options across various materials.
How long does DTF printing last?
With proper care, DTF prints can last several years. Longevity depends on fabric quality, washing conditions, and heat applied during pressing. Following recommended maintenance keeps the design vibrant and intact.
What do I need to start my own t-shirt printing business?
To start, you need a reliable DTF printer, heat press, quality inks, and films. Using services like PrintKK can help you source materials or get high-quality prints while you learn and grow your business.


 Global Shipping