


Custom patches make your stuff feel more like you. A plain jacket, backpack, or hat turns special with one quick addition. They show your favorite band, funny quote, cute animal, or inside joke. Best part? You don't need fancy skills or expensive tools to start.
This guide walks you through easy ways beginners can actually use. You'll see simple fabric tricks, hand-stitching basics, painting shortcuts, and iron-on hacks.
No complicated machines. Just things you probably already have at home or can grab cheaply. Ready to add your own touch? Let's get started.
Why Are Custom Patches So Popular?
People love custom patches since they let your style talk without words. Throw one on a backpack, sleeve, or cap and it instantly shares your thing—gaming, succulents, internet jokes, or your home city. Quick to add and easy to spot, they help you stand out in a crowd without trying hard.
They're also super practical. Got a tiny rip or faded spot on your favorite hoodie? A patch covers it perfectly and makes the piece look cooler than before. No need to toss something you love.
People keep coming back to them for a few big reasons:
- They turn plain stuff into something totally your own
- They cost way less than buying a new bag or jacket
- They make thoughtful, personal gifts
Making your own feels even better. You control every detail, and that finished patch carries a little extra pride every time you see it.
5 Creative Ways to Make Your Own Custom Patches
Layered Fabric Appliqué with Fusible Web
Pick a simple design and create a mirror image if printing. Trace or print parts onto double-sided fusible web (craft weight works best).
Iron it onto scrap fabric like double knit or old T-shirts, cut out each piece carefully, then arrange them like a puzzle on a backing cloth.
Iron everything in place with paper over the top to protect small bits. Zigzag stitch around edges for extra strength. This method gives clean, sturdy patches without much drawing skill.
Hand Embroidery on Sturdy Fabric
Draw your design lightly on paper ahead of time. Move it onto heavy fabric such as black canvas or duck cloth with chalk, a fabric pencil, or needle-poking for guidelines.
Place the fabric in an embroidery hoop to keep it taut. Stitch over the lines using embroidery thread and easy stitches to build the image.
Layer interfacing on the back to stop fraying if desired. The result feels personal with nice texture. Hand-sew the finished patch onto items for a classic, durable finish.
Fabric Paint with Stencils
Cut shapes from thin plastic or cardstock to make stencils. Place them on fabric like old T-shirt material or canvas.
Dab or brush on fabric paint for bold, flat designs. Let it dry fully. This works great for simple logos or patterns. Edges stay neat on less-fray fabrics, or seal polyester ones carefully with a lighter.
Iron-On Transfer Printing
Design something on a computer or draw it, then print onto transfer paper (mirror image needed). Iron the design onto scrap fabric following the package steps.
Cut out the patch and add heat-activated fusible backing to the wrong side. Press it onto clothes or bags. This creates detailed pictures quickly without sewing skills.
Mixed Media Combos
Combine methods for unique results. Start with painted base shapes, add hand-stitched details, or layer embroidered bits on a painted background.
Use scraps to keep things free. These patches stand out because they mix textures and techniques in fresh ways. Experiment on small pieces first to see what holds up best.
How to Make Custom Patches with Print on Demand
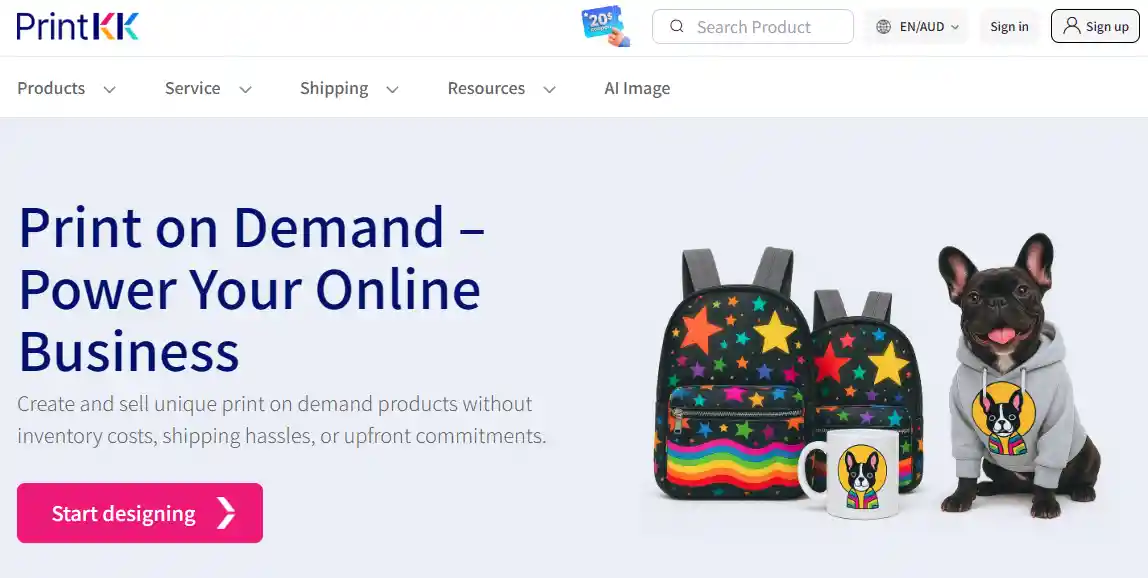
1. Pick a Reliable Print-on-Demand Service
Start by choosing a print on demand platform that offers embroidered patches with no minimum order. Printful and Printify stand out because they provide free design tools, many shapes like round or square, and options for iron-on or sew-on backing.
Sign up for a free account. Browse their patch catalog to see sizes from 2 to 4 inches and thread colors. This keeps things easy and lets you test one patch first without spending much.
2. Create or Prepare Your Design
Keep designs simple and bold for the best results. Use high-contrast colors since embroidery works with limited shades. Draw in free tools like Canva or their built-in editor.
Make sure the file is at least 300 DPI and in PNG or vector format. Avoid tiny details that might not stitch well.
Mirror the image if the service requires it. A clean design means your patch looks sharp right away.
3. Upload and Customize Your Patch
Go to the product page for patches. Upload your artwork and place it in the preview window. Pick size, shape, border type like merrowed border or laser-cut, and backing style.
Add thread colors or let the service suggest matches. Use the mockup tool to see how it looks on a jacket or hat. Adjust until it fits perfectly. This step helps catch issues before ordering.
4. Order Samples to Check Quality
Order just one or two patches first. This costs a bit more per piece but saves money later. Feel the fabric, check stitching tightness, and test how well the backing sticks or sews.
Most services ship fast, often in about a week. If something looks off, tweak the design and reorder. Samples help you learn what works for your style without wasting cash on bulk.
5. Attach and Use Your Finished Patches
Once patches arrive, attach them easily. For iron-on ones, place them on fabric, cover with a cloth, and press with a hot iron for 10–20 seconds.
Sew-on versions last longer on heavy-use items. Hand-stitch around the edges for extra hold. Add them to jackets, bags, or hats to show off your ideas.
They hold up through washes if applied right and give a professional look without the hassle of making them yourself.
Custom Patches for Small Businesses: DIY vs POD vs Manufacturers
The Three Main Options
DIY means you make patches at home with fabric, fusible web, paint, or embroidery. POD uses online services like Printful that produce patches only when you order.
Manufacturers handle larger custom embroidery runs through factories. DIY suits personal projects or tiny tests. Print on demand works well for online shops with no inventory. Manufacturers fit when you sell patches regularly in higher numbers.
Cost Breakdown by Order Size
Costs change a lot depending on how many patches you order. Here's a simple look at typical prices for each method.
1–10 Patches
- DIY stays the cheapest, usually $2–$5 per patch if you use leftover fabric and basic tools you already have.
- POD costs more, about $8–$15 each (including shipping), since they make them one at a time.
- Manufacturers are the priciest here—often $20 or more per patch—because of setup fees and small-run charges.
10–50 Patches
- POD prices drop to around $6–$10 each as the order grows a bit.
- Manufacturers become a better deal, bringing the cost down to $3–$6 per patch thanks to spreading setup fees over more units.
- DIY can still work but takes much longer and may not look as polished.
100+ Patches (Bulk Orders)
- Manufacturers offer the lowest prices, often under $2 per patch when you order in larger quantities.
- POD stays higher, usually $5–$8 each even at bigger volumes.
- DIY becomes impractical at this scale due to time and consistency issues.
Setup Needs and Time Required
DIY takes the most hands-on work. You need tools like an iron, sewing machine, or paint supplies, plus time to learn cutting and stitching.
POD is the easiest—just upload a design and order. No equipment needed.
Manufacturers require sending artwork for approval, which adds a few days to weeks. Lead times can stretch to 2–6 weeks once approved, but you skip all production steps yourself.
Pros and Cons of Each Approach
DIY gives full control over every detail and the lowest cost for very small batches, but it eats up hours and patches may not look professional.
POD offers low risk since you order only what sells, with consistent quality, though unit prices stay higher.
Manufacturers deliver the best-looking patches at the lowest per-piece cost for bigger runs, but you face minimum orders (often 50–100) and upfront fees.
Picking the Best Method for Your Business
For testing new designs, start with DIY or POD to see what customers like without a big commitment.
POD works great for small runs and online sales because you avoid storing stock and can offer many styles.
Manufacturers make sense when you scale up, have steady orders, and want the sharpest look at the best price.
Match the method to your current sales volume and how much time you can spend.
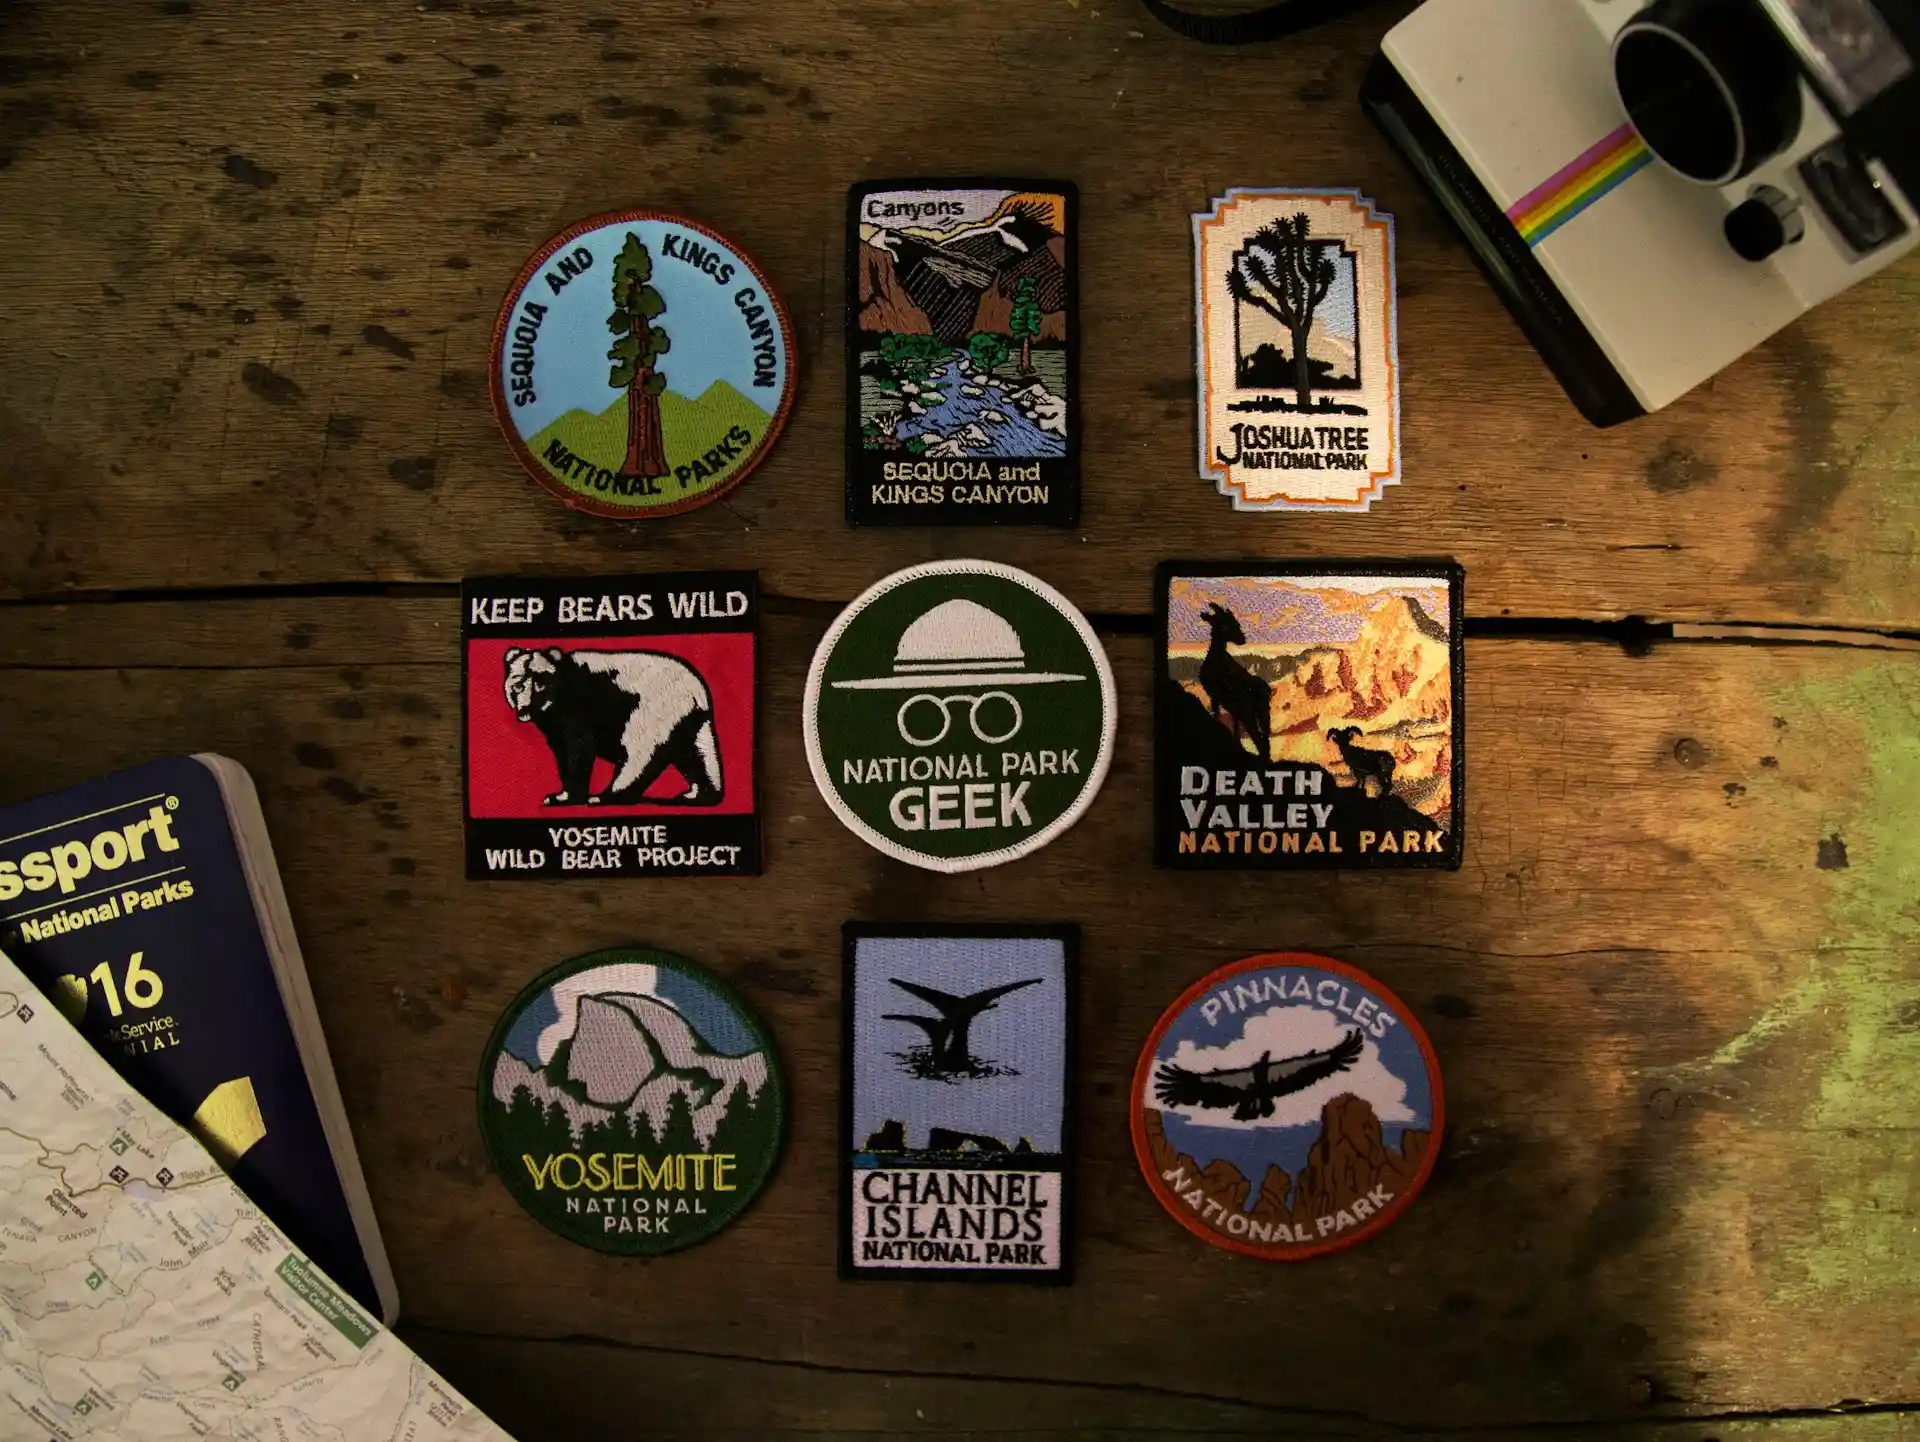
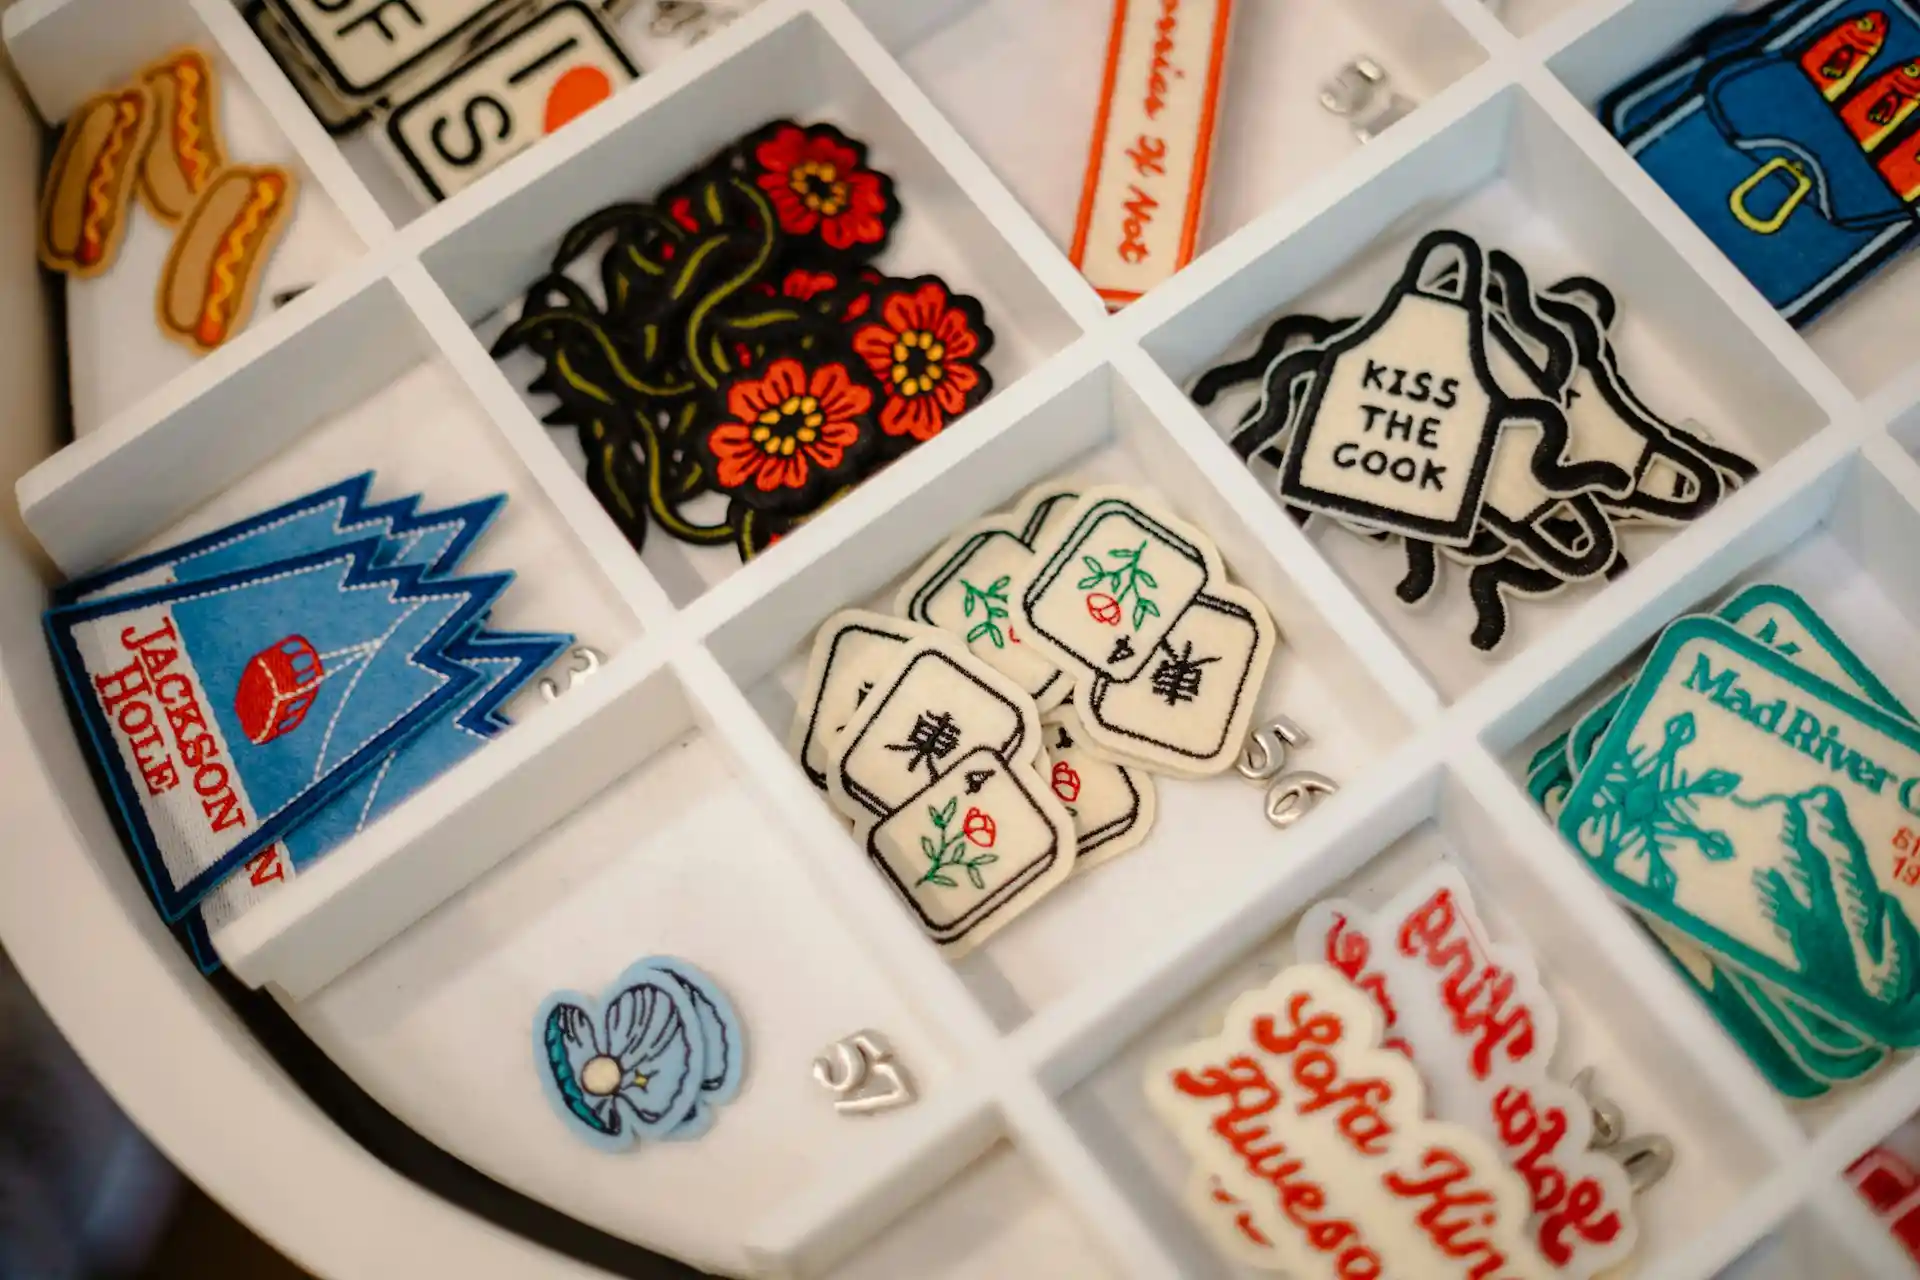
The Most Popular Designs for Custom Embroidered Patches
Cursive Names and Short Phrases
First names, nicknames, zodiac signs, or words like "dreamer" or "rebel" in flowing script top many orders.
The thick threads make letters pop clearly. Patches in this style usually measure 2.5–4 inches and attach to jackets, beanies, or guitar straps. Simple fonts keep them timeless.
Botanical and Mushroom Themes
Detailed leaves, wildflowers, ferns, and colorful mushrooms sell steadily. Thread shades in greens, purples, and soft yellows give a natural feel.
These designs look good on canvas totes, flannel shirts, and denim. The texture from satin stitches adds realism to petals and caps.
Cute Animal Faces
Round cat faces, sleepy dogs, baby foxes, and pandas with big heads rank high. Most use limited colors and basic stitches for clean results.
Puff embroidery on eyes or noses gives extra dimension. These patches attach easily to sleeves, backpacks, and phone cases for a friendly vibe.
Retro Pop Culture Nods
Cassette tapes, smiley faces, palm trees with sunsets, or old video game characters bring steady demand. Colors lean toward neon pink, teal, and black for high contrast.
Patches in this group cover bomber jackets, hoodies, and skateboards. The throwback style appeals across age groups.
Clean Line Icons
Arrows, waves, tiny houses, coffee cups, or abstract shapes stay popular for their simplicity. One main color plus black or white outlines keeps production straightforward.
These small-to-medium patches work on almost any item. Their modern look pairs well with plain clothing or layered outfits.
Read More:
- How to Start an Embroidery Business and Make It Profitable?
- 20 Trending Hat Embroidery Ideas: Make Your Caps Stand Out
Expert Tips
You've learned the basics of how to make custom patches with easy methods that fit beginners. From simple fabric layers to hand embroidery and quick iron-ons, you now have solid ways to create patches that look great.
Take what you like best and start small. Grab some scraps, try a design, and see how fun it feels. Each patch you finish adds your own touch to jackets, bags, or hats.
Keep experimenting. Mistakes teach you fast, and every new one gets better. You can make patches that show your style perfectly. Go ahead—get started today.
FAQs
What machine do I need to make my own patches?
You don't need a special machine for most beginner methods. A basic home iron works for fusible patches, and a regular sewing machine helps with edges. Hand embroidery needs only a needle and hoop.
How much does it cost to have a custom patch made?
Costs vary by method and quantity. DIY patches run $2–$6 each with scraps. Print-on-demand services charge $8–$15 for one. Bulk orders from manufacturers drop to $2–$5 per patch.
Can you create custom patches online?
Yes, many online pod services let you design patches right on their websites. Upload your art, pick size and backing, then order. Platforms like Printful make it simple and fast.
Can custom embroidered patches be washed?
Yes, they hold up well when cared for properly. Wash inside out on a gentle cycle with cold water. Air dry or use low heat. Avoid harsh detergents to keep colors and stitches bright.


 Made in USA


 Global Shipping